Page Tabs
- Home
- All at Sea - JJ's 1:700th Age of Sail Collection
- British Napoleonic
- French Napoleonic
- French Allies - Napoleonic
- Portuguese Napoleonic
- Spanish Napoleonic
- Peninsular War Scenarios
- Carnage & Glory II
- Over the Hills
- JJ's Dacian Wars
- Early Imperial Rome
- Tutorials
- Books
- Peninsular War Tour 2019
- The World Turned Upside Down - JJ's AWI Collection
Showing posts with label Portuguese. Show all posts
Showing posts with label Portuguese. Show all posts
Saturday, 29 March 2014
16th Portuguese (Lisbon) Infantry Regiment
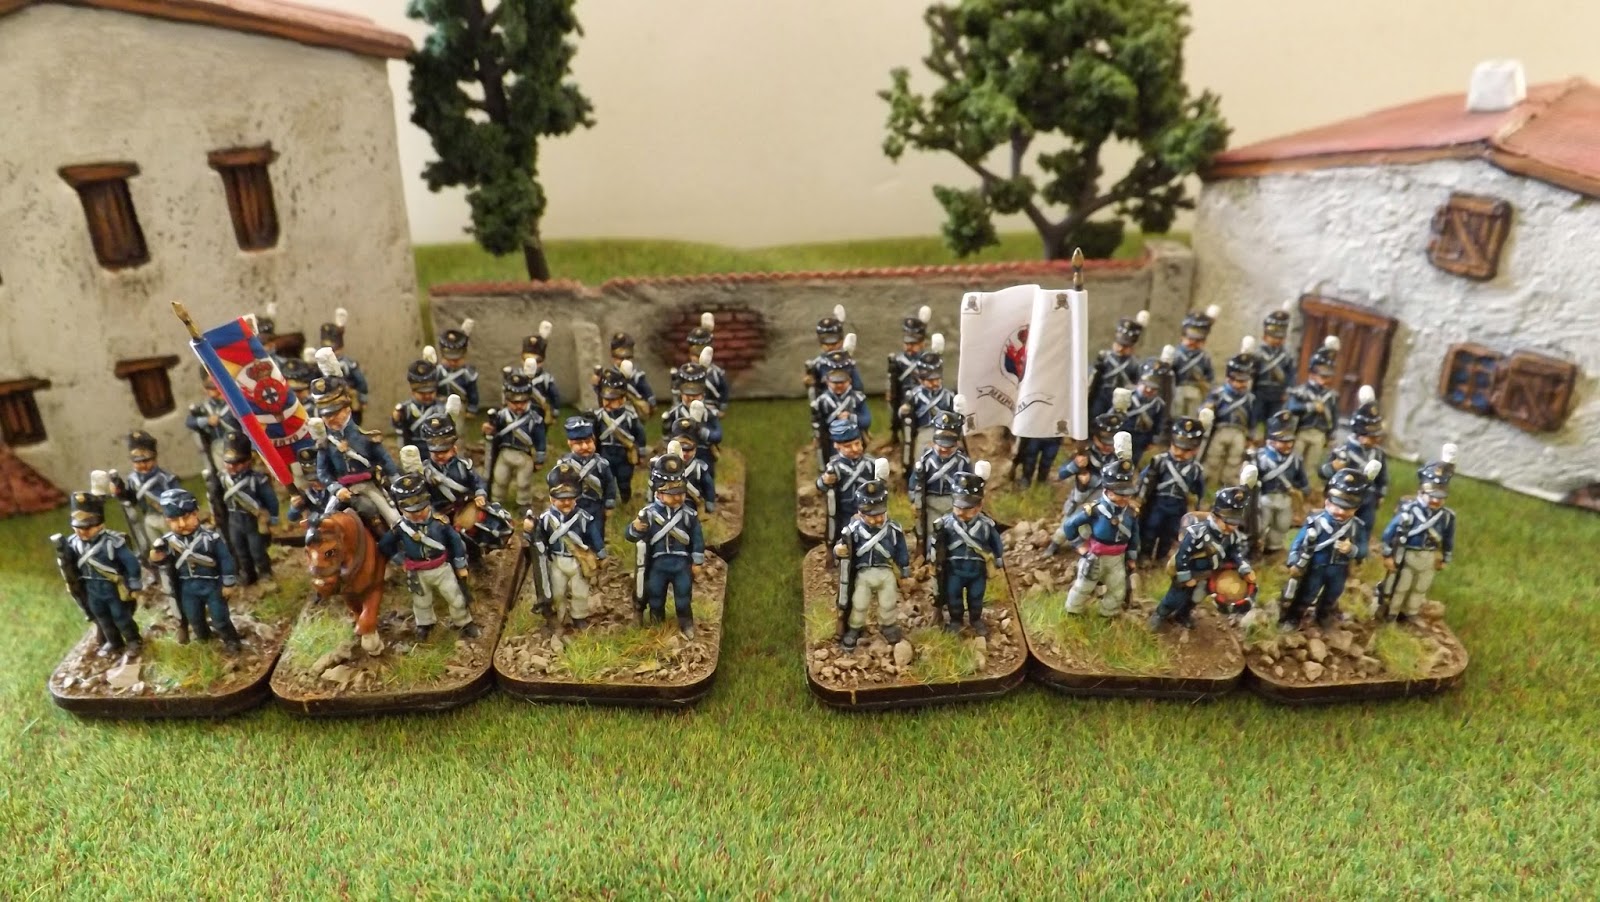
The completion of the 2nd battalion, 16th Portuguese Infantry sees all four battalions of Portuguese infantry present at Oporto done.
The information about the regiment can be seen on my previous post about the 1st battalion.
The 2nd battalion on the right is seen pictured with the white Regimental Colour.
All figures are from the AB range with the colours from GMB Flags.
There are now only two units remaining before I can bring the Oporto scenario to the table, namely the 14th Light Dragoons and the 1st French Hussars. In addition I am planning to have a purpose built Seminary building and have some houses for the town to finish off.
I am away next week training for a new job and then I am away in Rome on a tour of the classical sights so I will update on progress on the project on my return. Don't be surprised if the odd picture of the Colosseum appears in between time.
Labels:
AB,
GMB Flags,
JJ's Wargames,
Napoleonics,
Portuguese
Saturday, 22 March 2014
10th Portuguese (Lisbon) Infantry Regiment
With the completion of the second battalion, on the right, the 10th Portuguese Line Infantry Regiment is now complete. As you can see the second battalion carry the white Regimental Colour.
All figures are AB and the Colours are from GMB Flags.
For more information on the 10th Regiment, see my previous post on the first battalion.
These two battalions, together with the two battalions of the 16th Regiment will complete the Portuguese contingent for my upcoming Oporto scenario.
Next up, Oporto Table Build update.
Saturday, 15 March 2014
1st Battalion, 16th Portuguese (Lisbon) Infantry
The 16th Portuguese Infantry Regiment composed the other two battalions of the four battalion force that accompanied Sir Arthur Wellesley's army to Oporto as detailed in my previous post about the 10th Regiment.
One of the first recorded accounts of the Allied army contacting the forward elements of Marshall Soult's army on the approach to Oporto mentions the role of the 16th as they went into action at Grijo.
Battle of Grijo
Wargames Society - Action at Grijo
Lord Londonderry wrote of the action on May 11th 1809 referring to the role of the 16th Regiment in action under the view of Sir Arthur
"On the 11th Wellesley ordered Major-General Hill (3 battalions plus one company) to endeavour to
outflank Mermet's position on the east whilst he with Major-General Paget's Division advanced (Paget's First division had two brigades of infantry and twelve pieces of cannon: we suppose that's the 1st brigade with two Guards battalions and an extra company, plus the 2nd brigade with two English battalions, one Portuguese and an extra company).
The position occupied by the French generals was strong in its right and centre ; the one resting
on a wood filled with tirailleurs ; the other covered in front by villages and enclosures. But the left was the weak point, and the eagle-eye of the British general, at a glance, perceived that it could be turned.
Without once halting his column, he ordered General Murray, from the rear of the advanced guard, to move round by the right, throwing, at the same time, the 16th Portuguese into a pine-wood on the left.
The latter were intended rather to distract the enemy's attention than themselves to attempt any thing
serious; whilst General Paget, supported by two battalions in reserve, manoeuvred upon their front. A very heavy firing immediately began; but the enemy no sooner observed the judicious movement round their left, than they abandoned their strong ground, and fled. Upon this, our troops were again thrown into column, and the march resumed as if nothing had happened; every movement being made with the same coolness, and in as perfect order, as if at a field-day"
More information about the 16th Regiment can be found here.
Napoleon Series - Portuguese Infantry
As with the 10th Regiment, the 16th are entirely AB figures and the King's Colour is from GMB Flags.
Labels:
AB,
GMB Flags,
JJ's Wargames,
Napoleonics,
Portuguese
Tuesday, 11 March 2014
1st Battalion, 10th Portuguese (Lisbon) Infantry
The 10th Infantry were one of two regiments, the 16th being the other, each of two battalions, deemed ready enough in 1809 to accompany Wellesley's army on its march north from Lisbon to attack Marshal Soult's army at Oporto.
The Portuguese army was going through a process of reorganisation and training under Marshal Beresford, an able administrator who was a fluent Portuguese speaker. This reorganisation would see the Portuguese army become a major component of the Allied force that would eventually pursue French forces from the Iberian peninsula into France itself.
The 10th are shown in their 1806 regulation dress. As this battalion was one of the first of what were to become known as "Wellington's Fighting Cocks", I like to think these chaps would have been dressed in their original uniforms for the Oporto campaign. After 1810 the Portuguese infantry adopted British style blue uniforms with stovepipe shakos (as per the illustration above). Interestingly the British infantry in 1814 would adopt the Belgic shako, an obvious imitation of the Barretma shako seen here worn by the 10th.
Regular visitors to the blog will notice an absence of skirmish bases with the Portuguese. The answer to this is that the Portuguese line infantry regiments, trained to British methods, would normally be brigaded with a Cacadore (Light Infantry) battalion trained to fulfil the function of the British brigade light battalion and be able to aggressively skirmish to the front of the brigade as well as defend it from enemy skirmishers.
In the unlikely event that the line battalions were attacked by enemy skirmish units, they could detach their grenadier company to perform a defensive skirmish screen. In "Carnage & Glory" this is modelled by allowing the battalion to defend against enemy skirmishers but not to be able to attack enemy units with skirmish fire, that being the responsibility of the Cacadores.
 |
| I love the soldier second rank, second from right in the forage cap - AB excellence |
The battalion illustrated is composed entirely of figures from AB with a mounted colonel adapted from a British figure, that is with a head transplant and the double breasted jacket filed down to the single breasted version that Portuguese officers would wear. As always the Colour/Standard is from the excellent range of flags from GMB, with the King's Colour here displayed with the 1st battalion. My second battalion will have the white Regimental Colour.
The AB figures are, as always, a superb sculpt and a pleasure to paint. One particular figure that really makes the unit stand out are the chaps in forage caps (as in the illustration below) - superb. I also like the fact that the figures come in winter and summer dress and this allows the unit to have a campaign look.
If you would like to know more about the 10th Infantry and the other Portuguese battalions involved in the Peninsular War then follow the link to The Napoleon Series - Portuguese Infantry . The drop down menu at the bottom of this page will allow you to search by unit, enjoy.
Labels:
AB,
GMB Flags,
JJ's Wargames,
Napoleonics,
Portuguese
Monday, 11 March 2013
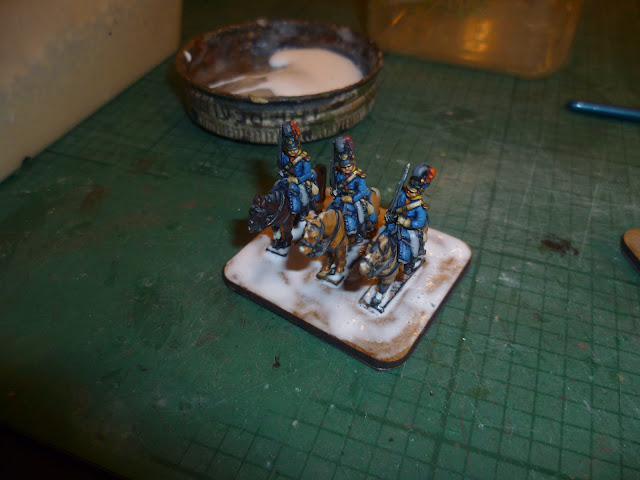
Portuguese Dragoons - Basing Tutorial
The basing technique I have adopted has developed over the years to a basic KISS strategy (Keep It Simple Stupid) so I can get the job done easily but have, I hope, a visually attractive model at the end of it.
There is no point, as far as I can see, in lavishing time painting your models and not base them in a way that sets them off when looked at from afar or close up. So if you have been following my painting of my Portuguese Dragoons, now would seem a good opportunity of demonstrating how I finish off my figures and my basing method.
STAGE ONE - Applying the Groundwork
 |
| The basing kit |
1. Your model figures painted and varnished mounted on your chosen base.
2. Builders ballast sand or any kind of fine grit with small stones.
3. Static grass.
4. PVA wood glue.
5. Paints - Citadel Steel Legion Drab, Vallejo Green Brown and Iraqui Sand.
6. Brush to apply wood glue, brush to apply paint, soft brush to remove dust.
7. Tweezers, needle file or other pointy object for removing overly large stones from bases.
 |
| Portuguese Dragoons based and varnished awaiting basing |
 |
| glue, grit and brush ready to start work |
 |
| base with glue, awaiting the grit to be applied |
 |
| Here you can see the grit applied and some stones are far too large to be left |
 |
| Dust removal |
Once all your bases are done, put the figures to one side and go and do something else. It is important to let the glue dry thoroughly before painting.
 |
| Bases gritted and drying |
 |
| close up of the base, once I am happy with the texture of the applied grit. |
STAGE TWO - The Base Coat Paint Job
Ok, once the grit has dried, it's now time to apply the base coat of paint, which I use the Citadel Steel Legion Drab. The paint seems to dry darker than in its wet state. I will often thin it by dipping the brush in water. This allows the paint to spread easily over the ground work and in between hooves or feet.
Again it is important to avoid painting over hooves and feet. If you do, simply apply a clean brush dipped in water and that should remove the excess paint.
As before it is time to find another task and allow the paint job to dry thoroughly.
Now we're into the final fun bit where we get the boys done, finished in the tin and on to the next unit.
So with the base coat dry and dark, it's time to raise the detail with a bit of wet brushing with the Green Brown. By wet brushing, I am using a dry brushing sweeping method of painting lightly over the groundwork but with more of a paint load to lighten the raised areas.
 |
| Here you can see the contrast with the right front corner of this base with the Green Brown applied |
Next up we need to repeat the process but with a dryer brush using the Iraqui Sand to really pick out that broken ground. Note again, try to avoid getting paint on the models, and wash it off with water if it happens.
 |
| The contrast between the base on the left with the highlight added |
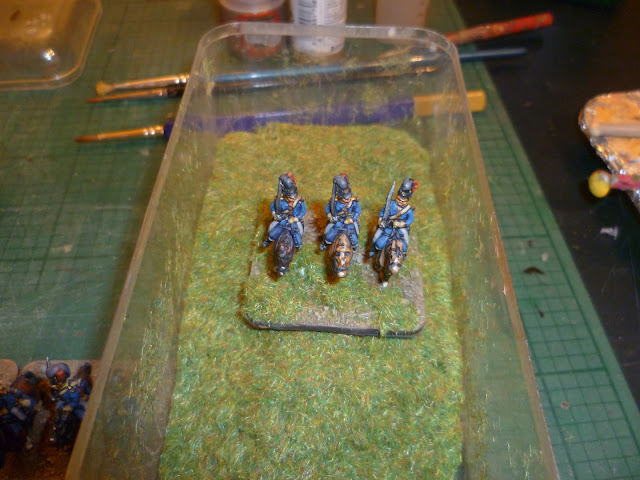
Now the final stage is to add the static grass. I am trying to capture a more arid appearance for my bases so keep the grass work sparse to suit a more Iberian look. For a more temperate area, I might add more static grass. It's entirely up to you.
Here I have painted on patches of wood glue and, using the tweezers, I simply drop clumps of static grass onto those areas. I have found, that by simply turning the base over and gently tapping with the tweezers, the static grass stands up quite nicely. So I don't use those little air bottle squirt jobs that I see advertised. Like I said at the start, let's KISS.
And that's it, job done. It might not win you a painting competition, but it should have your little metal warriors looking good when they're on parade.
 |
| The 8th Regiment of Portuguese Light Dragoons |
Friday, 8 March 2013
Portuguese Dragoons Part Two
Well after two nights way at a business meeting I was really keen to relax with a paint brush in my hand. I'm on duty at the Devon Wargames Group this weekend running my Rolica scenario using Napoleon at War, so my painting time will be limited to Sunday.
I'll post some pictures when completed, but these are the shots mounted on the stick with all highlighting finished, just varnishing and basing to do.
I'll post some pictures when completed, but these are the shots mounted on the stick with all highlighting finished, just varnishing and basing to do.
 |
| Troopers mounted and ready for varnishing |
 |
| Bugler on the grey |
 |
| The grey highlight on the helmet comb looks more pronounced in the picture than when viewed naturally |
 |
| Officer in the centre |
Subscribe to:
Posts (Atom)


