Both Steve and I have a hard copy of Rommel in the Desert, the block game by Columbia Games and it is a firm favourite with both of us, modelling very cleverly the supply issues that dominated the movement and combat in the Desert War in North Africa in the first half of WWII.
Thus the game presents classic decision points throughout for players, judging when to go large on supply point spend to make that 'battle changing' all out attack whilst pinning the enemy along the line or when to back off and 'go firm' as the supply dwindles and you desperately hope the enemy is in the same state as you and a natural pause will begin as you both stop to rebuild, resupply and reorganise.
However when you haven't played a game for a while it's surprising how the learning curve needs to be overcome again to grasp the familiar mechanisms yet again and so after making a mess of our first game, by playing our combats through to completion instead of stopping after the prerequisite number of rounds allowed by the supply points spent, thus seeing our units get eaten up in a month instead of the three month scenario being played, we reset the board and started again.
That's one of the many advantages of cyber play that setting up a game in Vassal is often just a case of a couple of clicks on the mouse and you're good to go.
 |
The Crusader set up map clear of troops with all the named hexes visible for reference to places mentioned in the post. The two supply points and rebuild bases for the Empire and Axis are of course Alexandria and El Agheila respectively and the border between Libya and Egypt with the two Oasis of Jarabub and Siwa out in the desert marking our set up line.
|
In addition to getting used to the play of the game we also had to familiarise ourselves with how the Vassal module facilitated it and with this most recent incarnation, I have to say very well, with the board shots of our game displayed here in the post showing our game of the Crusader Campaign in the winter months of 1941 set up, with me playing the British Empire forces and Steve's Axis line hidden from view as his blocks are turned face down.
Along the top border the supply points for both sides appear which in the shot below shows the end of our first of three phases of play and me sitting on two supply and Steve with three having just passed after my pass to end play for the month of October 1941.
 |
The end of October 1941 and my Empire forces have punched a few holes in Steve's Axis line along the Libyan border, but I'm down on units lost with an armoured and South African reconnaissance brigade and two motorised New Zealand Infantry brigades written off and my supply desperately depleted.
|
The Crusader Campaign found the Empire forces driven out of Libya and back into Egypt as Rommel's recently arrived Afrika Korps reinvigorated his Italian allies and chased the enemy back through Cyrenacia along the coast and through the open desert beyond the Jebel el Akhdar, only halting after the supply ran out and a formal siege put in place to deal with the Empire garrison of Tobruk ensconced behind the Italian constructed defences of pill boxes, trench lines, wire and minefields,
 |
Czech infantry of the 11th Battalion man the defences around Tobruk in October 1941 with a captured Italian field gun set up in their positions
|
The period of of rebuilding saw the Empire forces receive massive numbers of men and materials with Churchill pushing for an early resumption of the battle to drive Rommel away from Tobruk and better still see his force destroyed once and for all.
Thus my set up saw my five block garrison positioned behind the Tobruk defences surrounded by Axis troops and with both sides strung out along the Egyptian border but with the Empire now boasting five brigades of armour, together with a couple of Army Tank brigades, one being Matildas, still a formidable punch through unit at this stage of the war.
So setting off into the blue, I drove my armour out into the desert in an attempt to turn the Axis line whilst pinning in the centre, but despite the success of taking out a couple of German recon brigades and an Italian infantry regiment, I lost two New Zealand infantry brigades and an armoured brigade in return together with several other infantry units battered but still in being.
In addition I had spent big in that first month trying to break through and ended up with just two supply points left, so the likelihood would see me sitting tight through the next month trying to bluff my way through it with occasional challenges to any of Steve's moves by throwing out a dummy supply, hoping he might spend an extra real one to do what he had wanted to do in the first place.
 |
| Empire reconnaissance on patrol during Operation Crusader |
Well Steve didn't fall for my ruse, but it seems my big offensive in September had caused him to spend big as well and so it wasn't long before we had both passed in succession and November 1941 was over, with both of us having our line drawn closer to the coast but with me having some recon units out in the desert at the Jarabub Oasis.
 |
The end of November 1941 and with both of us desperate to consolidate our supply, with me just sitting on one supply and four dummies at the close of play, both our lines along the border have been drawn in to the coast with groups brought together ready for the big and hopefully final push in December
|
Well with just one month to go and Tobruk still firmly tied up by Axis forces, my only recourse was to go for an attritional victory by marking down as many Axis units as I could and hope to have more Empire units left at the end of it to force Rommel to fall back, as was the case historically.
The key would be to knock over the tougher Afrika Korps units worth 1.5 units in the total count of Axis units and I needed to get Steve embroiled in a big scrap to draw in and then kill those German troops.
To help matters I had reinforcements to bring up from Alexandria in the form of the 1st Armoured Brigade, two Guards motorised brigades and an Indian infantry brigade who during the build up drove up to Sidi Barrani in preparation for my final push.
In addition I pulled my reconnaissance units in to bolster my extreme flank held by my South African Infantry.
 |
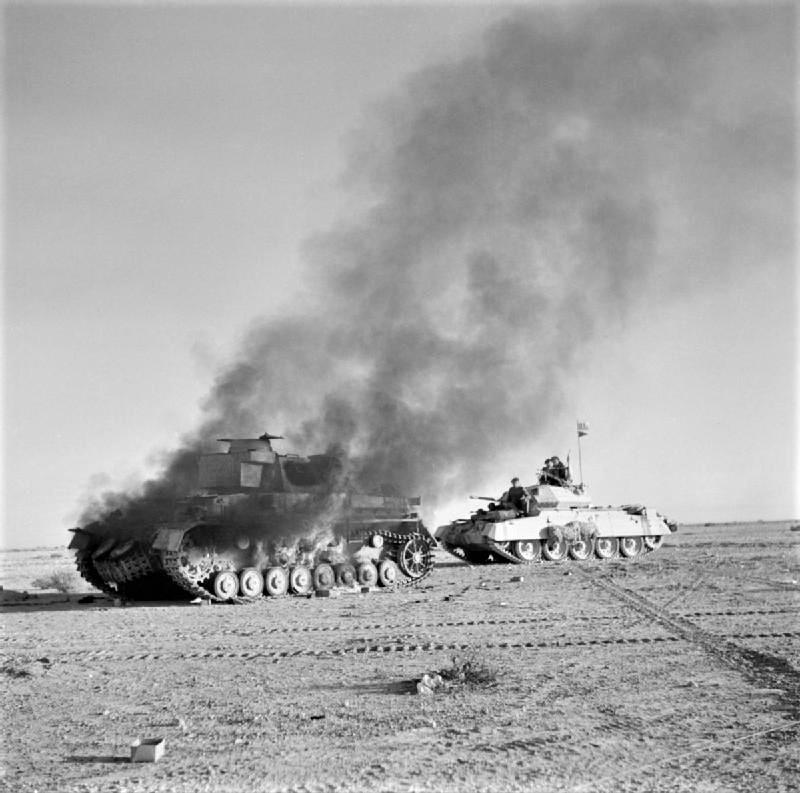
A British Crusader Tank passes a burning Panzer IV during Operation Crusader, a sight that would have been seen in our game
|
Well as the map below shows, I got my big battle at Sidi Omar on the escarpment south of Sollum on the coast road as I pushed two armoured brigades, an army tank brigade supported by an antitank battalion, two brigades of Indian and South African infantry and two brigades of motorised guards and New Zealand Infantry in a 'Blitz Assault' that for the cost of three supply points out of just five held initially, allowed me to feed eight units into the battle over the two hex-side entry points in two moves and fight two rounds of combat.
The battle that followed saw Steve have a bad night with the dice as my large force created the swirling tank action and managed to draw in and destroy the 5th Panzer Regiment of 21st Panzer Division and the 115th Panzer Grenadier Regiment of 15th Panzer Division alongside the Ariete Italian armoured regiment, leaving two German anti-tank brigades and a battered Italian motorised infantry brigade to pull out at the close of the battle.
This after a probing attack made by the Matilda Army Tank Brigade supported by 1st Armoured Brigade along the coast towards Sollum, causing the latter to get destroyed but pulling in Axis reserves to counterattack the Matildas setting up the big attack at Sidi Omar.
 |
December and the end of our Operation Crusader with the battle site at Sidi Omar shown and both Axis and Empire lines along the border emptied of units as the depleted Axis forces start to break off from their siege of Tobruk to fall back towards El Agheila.
|
However the Empire forces paid a high price for an attritional victory with Steve marking down ten of my units with two armoured brigades, an army tank brigade, four motorised infantry and two South African infantry brigades written off.
 |
The units left standing in the final battle at Sidi Omar with German antitank units and Italian infantry holding the rear-guard against the Empire assault.
|
 |
The 'Dead Box' of written off units tells the tale of our three month fight in Operation Crusader with those five German units accounting for a loss of over seven Axis units equating to just over nine Axis units in total to the ten lost by the Empire forces
|
As with the historical battle our Crusader was a close run thing and with both of us getting back into relearning this game, mistakes were made by both sides which we chatted through in our wash-up afterwards.
However the basics of this game that make it such a classic in the Desert War catalogue was still as good as we had remembered and our play should get better with more games, so the plan is to resume with our next set to, refighting the Gazala line in 1942 with me taking the Axis forces this time, with our plan then to go on and play the full campaign game linking the 1941 and 1942 scenarios together and allowing the phases of build up and battle to really show how this game can model the whole war in North Africa as we battle back and forth along the coast road between Alexandra and El Agheila.
More Anon.
Next up, the series of All at Sea posts continues with a look at the second piece of conversion work, to produce a 64-gun third rate, plus I have another book review and Steve and I ended up having a swirling dog-fight in the desert at Gazala which ended up extremely close on the victory conditions.


Interesting how closely it parallels the real Crusader. Of course the CW plan was to engage the Axis armour in a huge tank battle on ground of their choosing; sadly abandoned when the Axis refused to play due to Rommel not believing a real offensive was happening! A case of the CW deception plan being too effective.....
ReplyDeleteI must get my hard copy out for another look....
Neil
Hi Neil,
DeleteRITD with its supply rules really seems to capture the essence of war in the desert of this period and you find yourself mimicking the actual movements because of them, and with the hidden units it really forces the players to feel out the enemy position, trying to get a mental picture of where his main force is likely to be before striking, otherwise you find your strike force bled and pinned by 'speed-bump' forces and then hit by his counterattack force.
Our Gazala game played last night produced a similar experience, a game I will post about in the next week or so, and it was fun setting up a PaK front with German infantry and AT gun units trying to lure in Steve's British armour before hitting them with the panzers in a counterattack.
Now however I will have to get back into my British tactics as I'm going to be running the Empire forces in our campaign game.
JJ
Not played this one, it looks good!
ReplyDeletecheers
Matt
Hi Matt,
DeleteRITD is a lot of fun and the hidden movement with the blocks adds another level to the game. Do give it a go if you get the chance.
JJ
Another game I own, but have not had out of the box in 20 years. Still, I only paid a tenner for it when Bedford games shop had a sale.
ReplyDeleteVince
Hey Vince, if you fancy having a game on Vassal, I'm your man and I have plenty to choose from in my current collection.
DeleteThis one is still as good as we remembered it and I haven't been able to say that for all of them.
JJ