
I often speak to people who struggle getting their figures painted, and if it is not your first love in wargaming there are other alternatives. However if paying someone else to do it isn't one of them, then mastering a technique and mastering ones self to apply it is very empowering. So I have found painting figures in stages a useful psychological tool to progress a project. The feeling of sitting down to the job knowing that you have already done x y and z helps keep things progressing. I now often spend a minimum of an hour a day working this principle, and my enjoyment of the process has grown accordingly. If you are looking to get better at and spend more time painting then try following this technique. It takes 30 days to build a new habit.
Ok with that pre-amble, what follows is a step by step plan for painting Napoleonic British and French 18mm infantry, that should give you an easy on the eye result.
 |
| Typical British Line Fusilier with buff facings, hence buff straps. White straps would be normal for other units |
 |
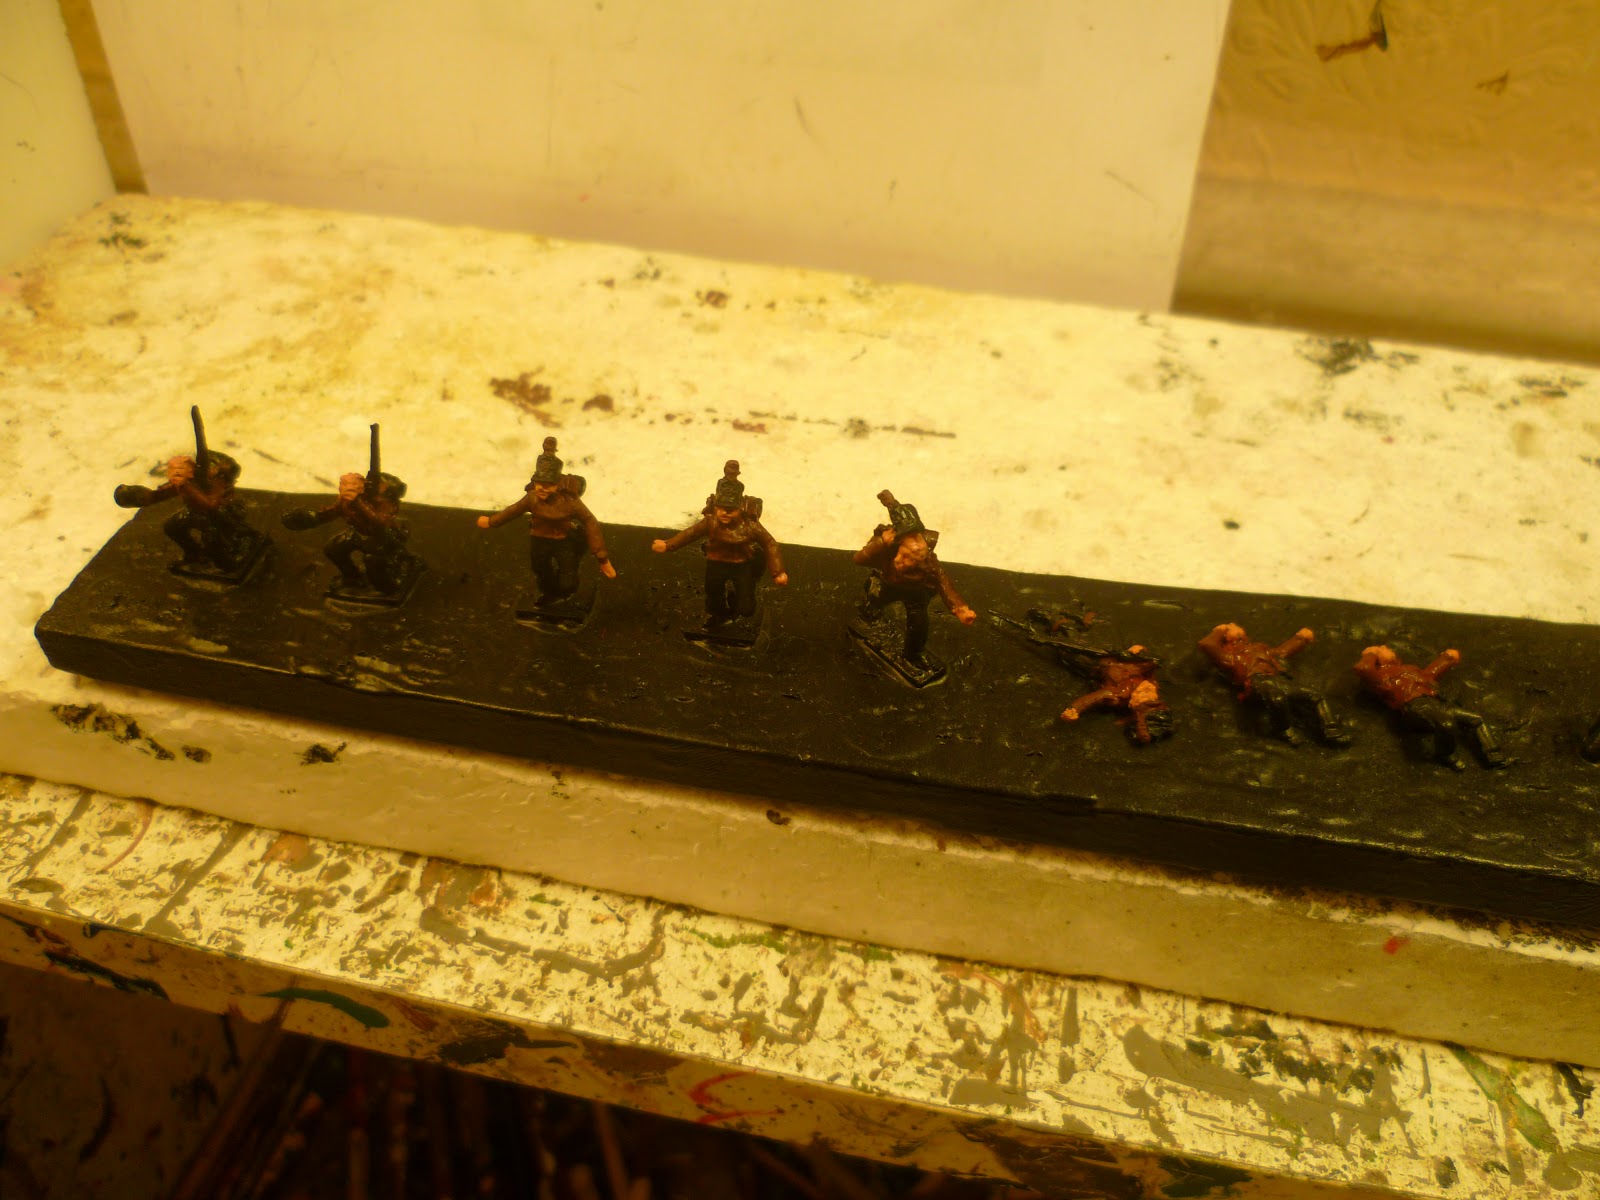
| French Line and Light Infantry in the Peninsular War |
My painting technique is based on the three colour highlight system, using a base, middle and highlight for each colour. As I am painting my British and French casualty markers I will illustrate each colour as I go.
As with the basing tutorial, I tend to work through my units in three steps, so after priming with a black undercoat, I would block paint in the base coat.
STEP 1 - Base Coat
 |
| The British get the flesh pressed |
With block painting I am just getting the basic colours set up. I don't leave the primer showing and so paint one colour up to another. The base coat will give all the shadow and delineation I need.
The first colour I start with is the flesh areas using Citadel Ratskin Flesh, don't you just love these silly Game Workshop paint names!! Still never mind the name, I find this shade gives a good dark base to the flesh areas
 |
| I find the Ratskin shade gives a good base to flesh |
Next colour would be the uniform starting with the coat and for the British red jacket I start with Vallejo 985 Hull Red which gives plenty of depth to all the areas in shadow. In addition, the fusiliers amongst this group, identified by the lack of elite company wings on the jackets get their shako tufts painted as well.
 |
| Redcoats in Hull Red |
Likewise with the French I start with Vallejo 899 Dark Prussian Blue. One of my casualties will be a Legere and so I have given him blue trousers as well.
 |
| French in Dark Prussian Blue |
I then move on to typically grey areas, such as rolled greatcoats, trousers, gaiters and white areas such as lapels, belts and waistcoats on my French, not the British. The Grey compliments the blue on the French as a base coat. The British redcoat needs a warmer base coat for the white areas.
I like to give my figures a campaign look and so some of my figures will be wearing Spanish material for their trousers. This was typically a local brown cloth and I use Vallejo 941 Burnt Umber.
 |
| Grey great coats and gaiters |
Next up any muskets and French back packs are painted a Chocolate Brown, either Coat d'arms 519 or Vallejo 872. Note I don't worry too much about painting the whole musket and pack brown. We will come to the metalwork and straps later.
 |
| Any areas where the white goes is grey |

Did you spot the mistake? The Highlander above just got his knees painted! I often miss a figure, so just go back and fill in the bit you missed ready for the next step.
 |
| Muskets and Back Packs plus brown Spanish cloth |
The final main areas to cover are the base colour for the British white summer trousers which I use
Vallejo 976 Buff and while I'm at it I'll tip the white of the fusilier tufts

The last main colour to do is Matt Black, which I now go over the shakos, boots, sword scabbards/bayonet frogs, British back packs, ammo pouches and metalwork on the muskets

Once these main areas are done I will add a few base colours to the detail areas such as cuff and collar facing colours (Hull Red, Dark Prussian Blue etc) , voltigeur/grenadier shoulder boards, bread bags (Coat d'arms 510 Mid Stone) and water canteens (Dark Prussian Blue), and water gourds for the French (Coat d'arms 510 Mid Stone).
Note I don't paint the chords on the shakos. I like to highlight the shako before I add any detail.

The final area to complete Step One is to prepare the British belts and straps with the Vallejo Buff and the Highlanders kilt with Dark Prussian Blue.


That's about it, you can now walk away and look forward to the fun part of this paint job. Next up we start to highlight and make these little chaps start to "Pop".
Nice work JJ,
ReplyDeleteI'll be watching out for your final results.
I've dropped a lot of my shading now, I put my trust in army painter and 1 shade to save time. I feel lazy but i'm getting more troops done.
Keep'em coming!
Cheers
Paul