

This weekend Steve W and I travelled up to Somerset to spend Saturday at the Fleet Air Arm Museum in Yeovilton as guests of the Naval Wargames Society for their annual gathering, an opportunity to play naval wargames with other like minds, and to meet other folks and chat about the hobby.
For our debut game representing the Devon Wargames Group, Steve and I were the survivors of an original team from the club, reduced by other members forced to drop out through a combination of vaccine injections for flu and Covid the day before, family bereavement and choir duties.
 |
| The Leeward Line Scenario, seemed an appropriate game of choice to play in this, the week of the 217th anniversary of the Battle of Trafalgar. |
Thus we travelled up from Exeter to arrive just after 09.00 to set up a modified version of The Leeward Line Scenario, using Kiss Me Hardy (KMH), recreating the attack of Vice-Admiral Collingwood's Leeward British column of ships on the rearward part of the Combined Fleet's line at Trafalgar, this being the week of the two hundredth and seventeenth anniversary of the battle.
 |
| The table plan for our game, which saw me adding in the Achille and Revenge to the British attack force and the Aigle, Montanes and Swiftsure to the line of the Combined Fleet. |
The Leeward Line Scenario is a great game to run in a day, and one we have run several times before, representing as it does a discreet but massively impactful part of the Battle of Trafalgar as Collingwood brought his squadron into battle first, well aware of the importance for his ships to quickly overwhelm those of the enemy, as Nelson's force busied themselves dealing with Allied centre and fending off any attempt by their van to turn about and come to the rescue.
For this particular game I increased the two forces with additional ships that joined the fray later in the battle and added the Allied frigate line, purely for cosmetic purposes, this being as much a demonstration game as anything, to give the impression of the look of the battle in this part of the Allied line.
 |
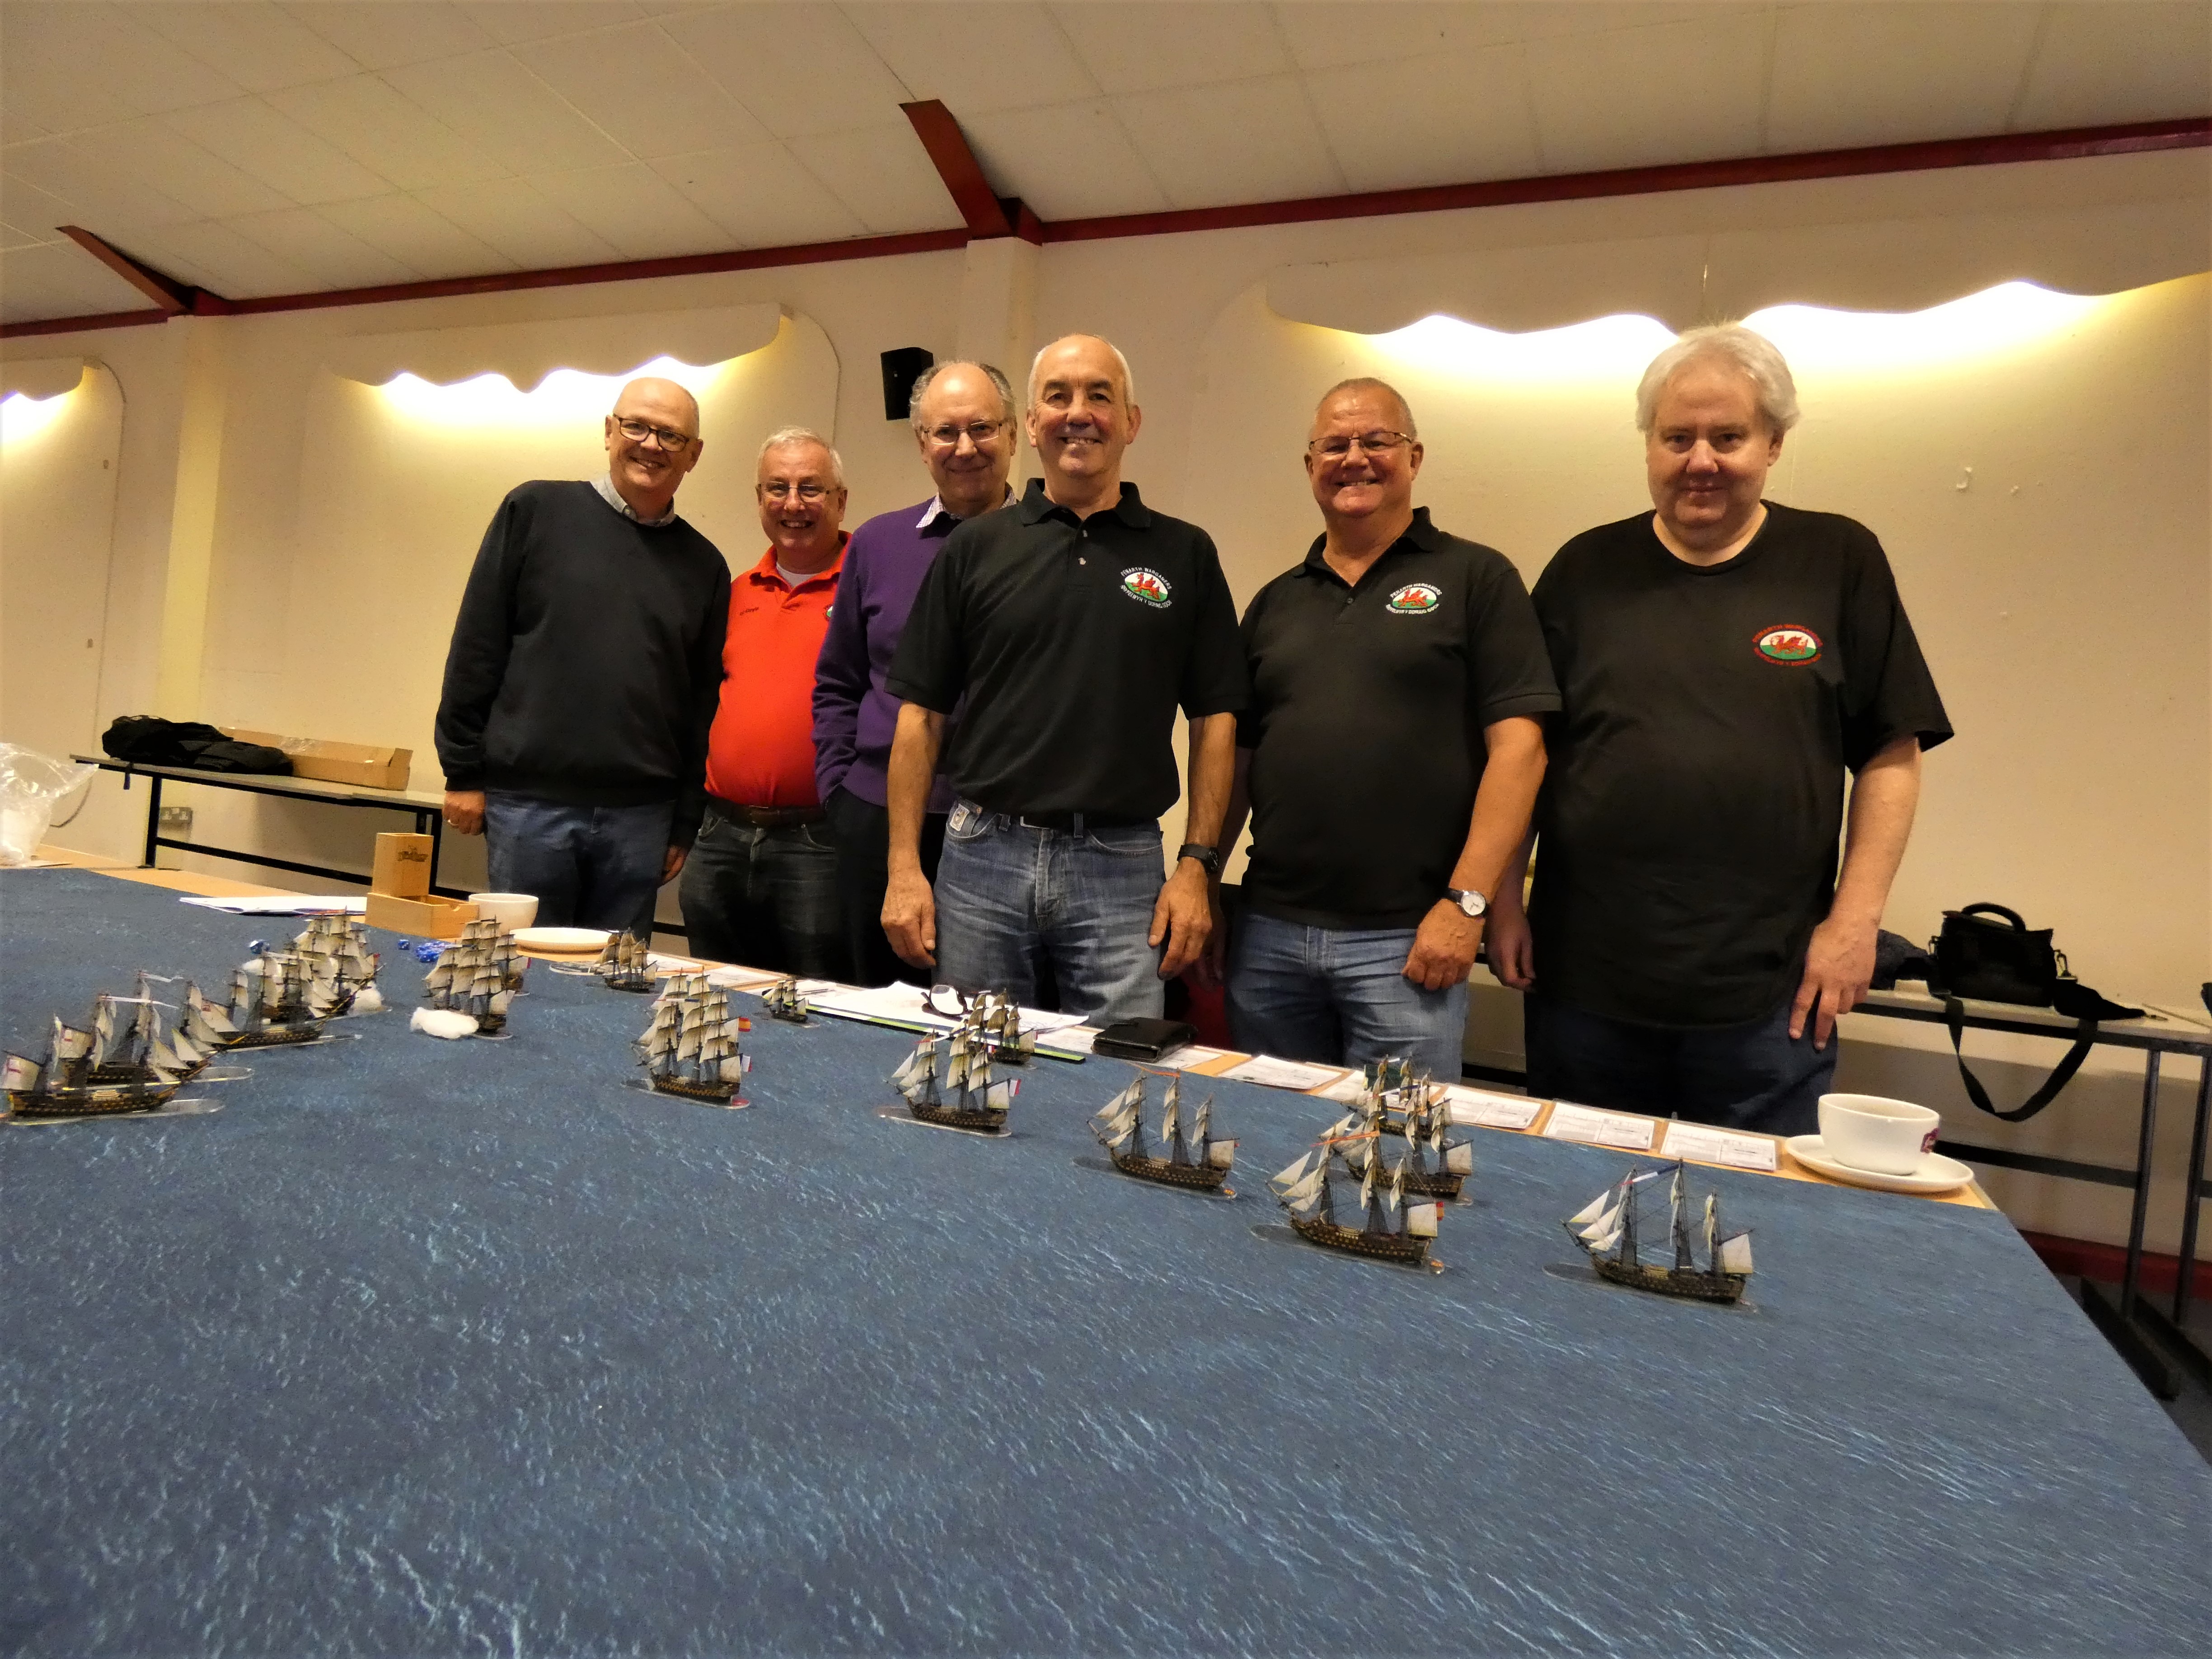
| It's just after 10.00 and Steve and I are desperate for a brew, but while it was still quiet and with the game set up to go, time for a quick team picture. |
This was my first time attending an NWS gathering and it was great fun meeting folks I have been chatting to via email in previous months and to wonder around later in the morning to take a look at the other games we had in the hall.
| https://www.fleetairarm.com/ |
In addition the venue is a museum for the Fleet Air Arm, open to the public to see the amazing collection of aircraft and other items associated with the Royal Navy and an opportunity for them to see our hobby in action and to promote it to a wider audience.
 |
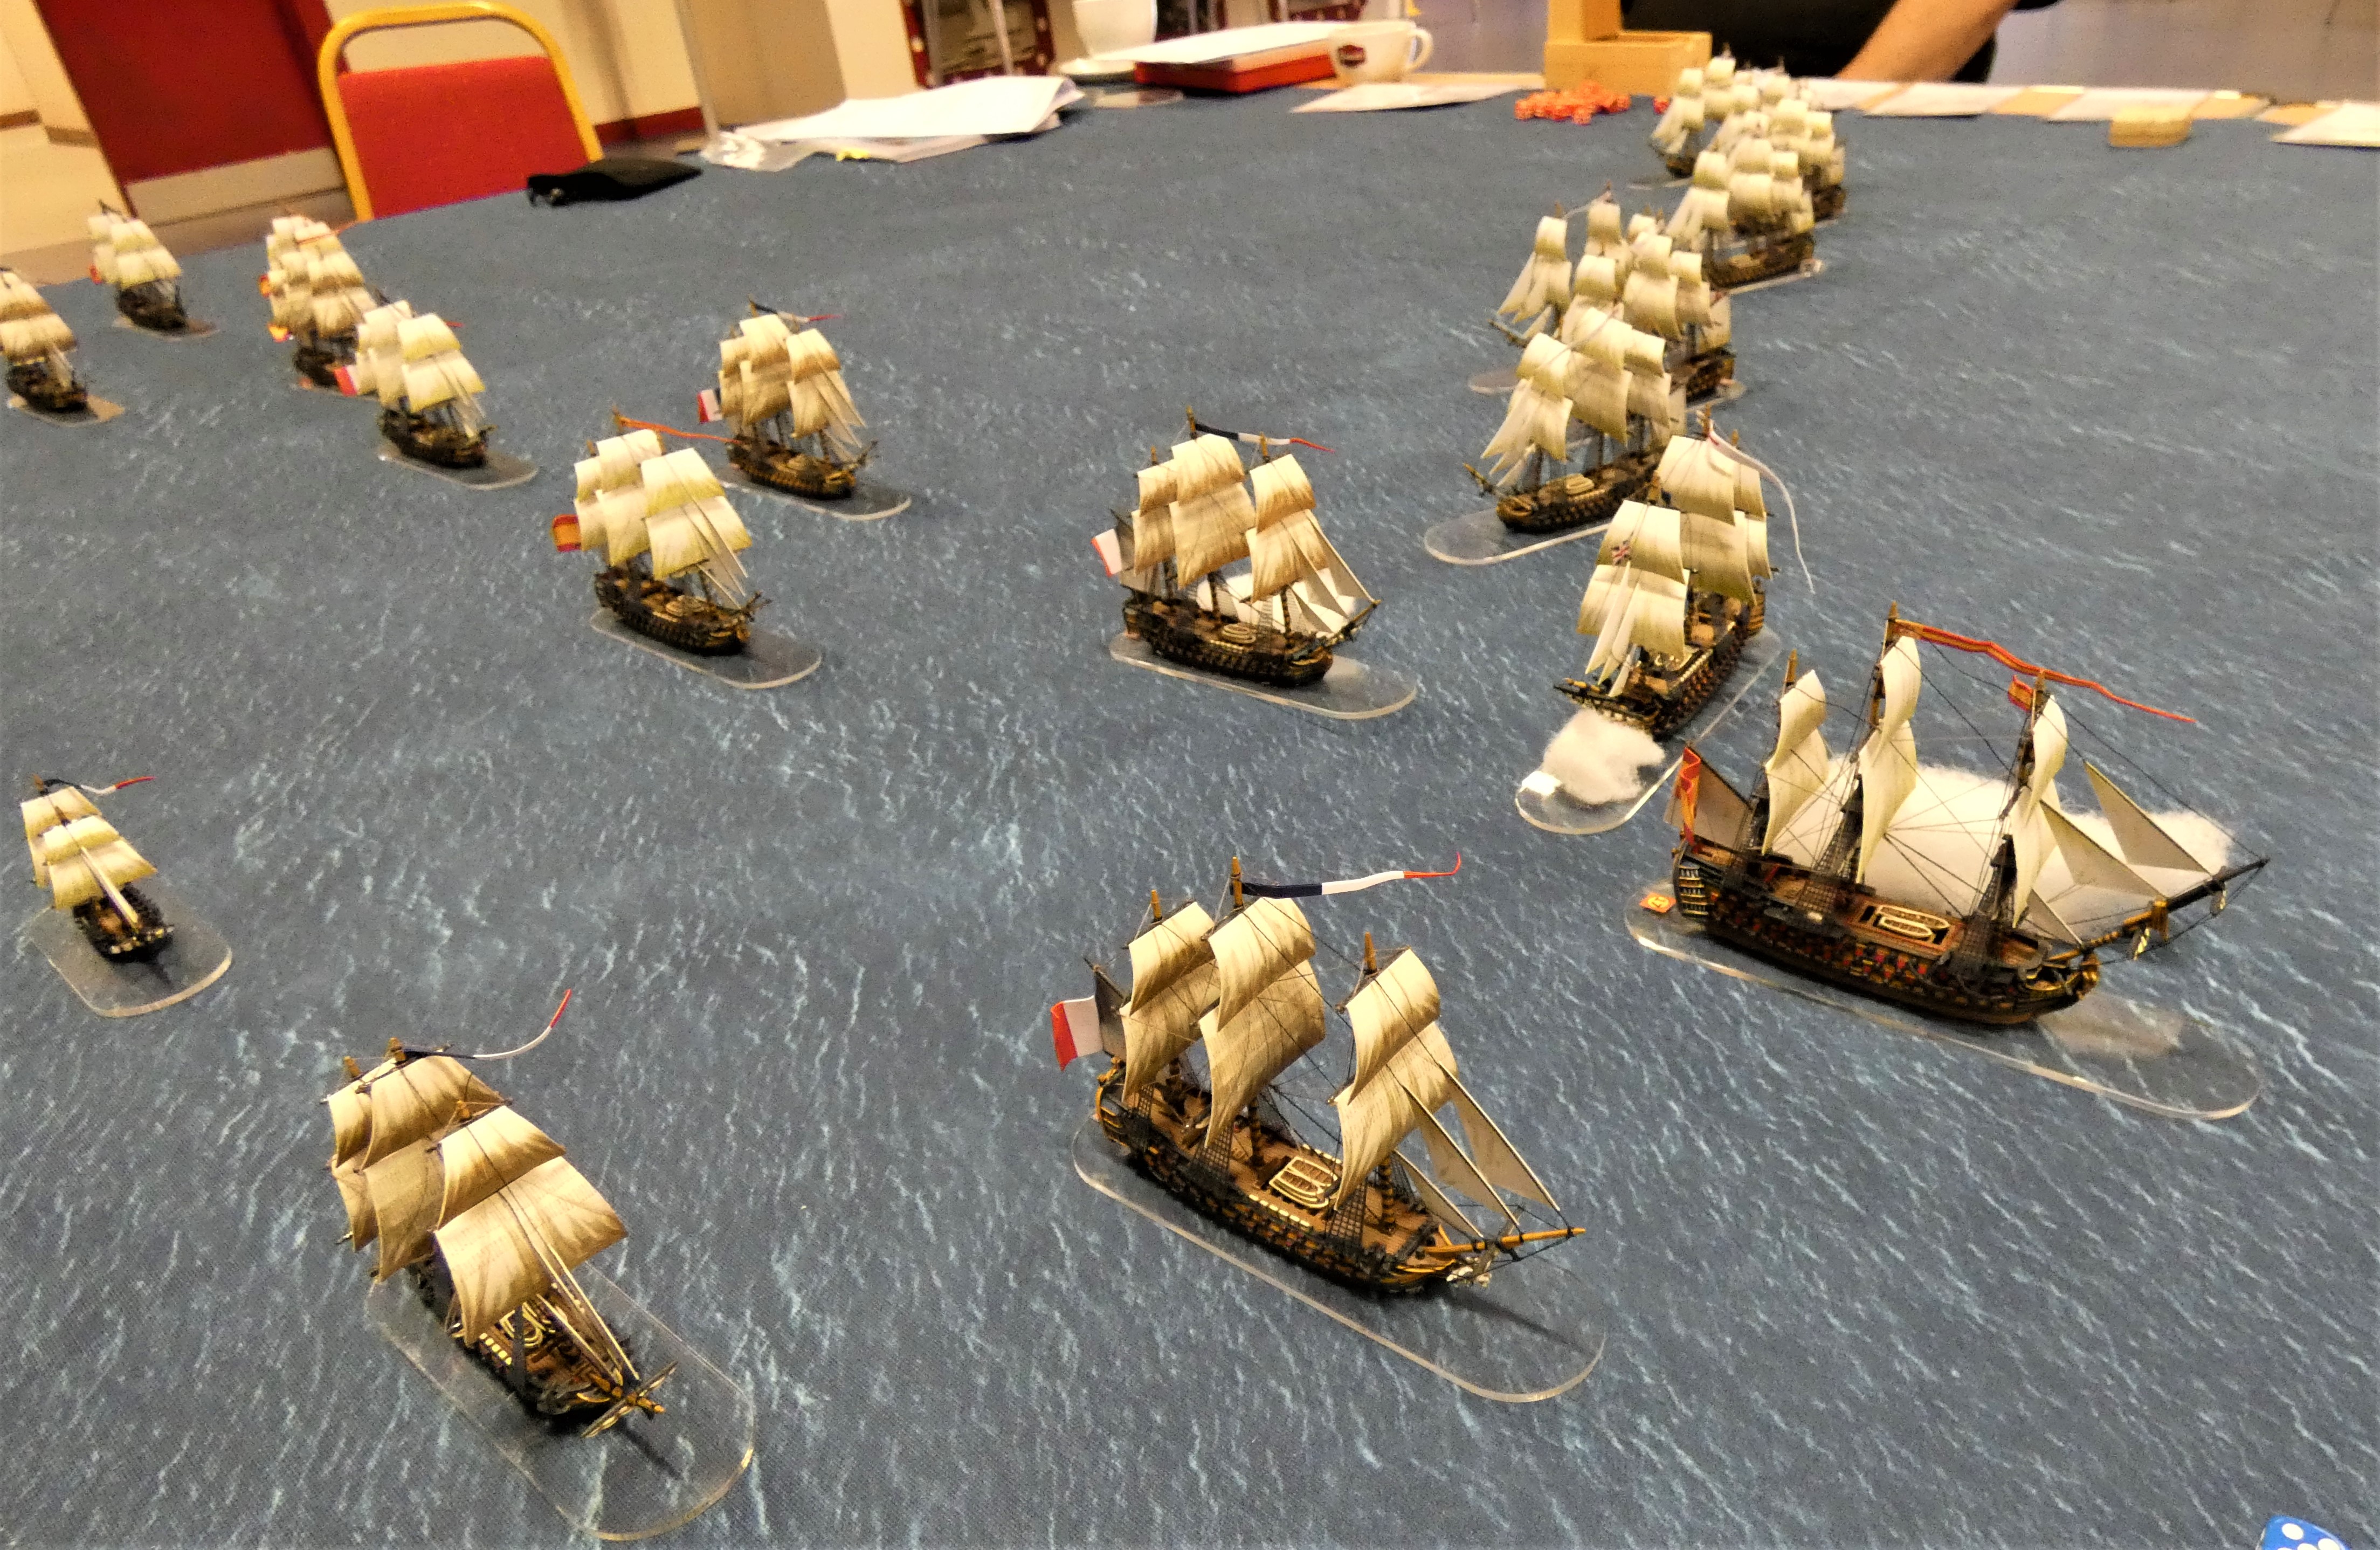
| Let Battle Commence - The opening stage of the Battle of Trafalgar, captured by Nicholas Pocock and reproduced in our game this weekend. |
After a refreshing cuppa, Steve and I proceeded to get the game going with Steve taking command of the British and myself running the Allied line.
 |
| The Royal Sovereign, blazing away with her bow chasers prepares to open fire with her broadsides as she closes on the stern galleries of the Santa Anna, having already suffered high officer casualties and a lost main mast in the approach run |
With the flagship Royal Sovereign 100-guns, positioned just beyond extreme gunnery range, and sailing on a NW quartering wind, it takes little time for her and her consorts to close the range whilst enjoying the delights of a bombardment of the rigging from the Franco-Spanish line on their approach.
 |
| Our rules for the day, Kiss Me Hardy from the Too Fat Lardies with a few added house-rules! |
The game was not without drama, as is usual with most KMH games, even in the first turn, as Steve managed to roll up a wind change, causing the wind to shift a point to westward, putting the wind on his stern rather than the quarter and reducing the British speed to basic plus 1d6 cm of movement, whilst the Santa Anna 112-guns, managed to roll a ten on a d10 on the critical hit table against the British flagship's rigging, bringing down her mainmast and causing high officer casualties, not for the first time in our game, forcing Collingwood to take a survivors die roll which he subsequently passed.
 |
| The day kept getting better as we were joined by the Penarth boys who seamlessly joined the game and added yet more fun. We're about to start turn two, so time for a new team picture. |
Just as we prepared to start the second turn of the game we were joined by chaps from the Penarth Club, who had travelled down from deepest darkest South Wales to see the show and to come and chat age-of-sail and games played in glorious 1:700th scale, and so it was great fun that they were happy to join in, with the sides quickly rearranged and with me resuming duties as umpire and chit drawer.
With commands sorted out, we got stuck in, as the British ships attacking in echelon started to attempt to break in amongst the Allied line.
 |
| The Santa Anna 112-guns wreathed in smoke from her previous broadside, braces herself for the return salute as the Royal Sovereign, flying her battle signal 'Engage the Enemy More Closely', prepares to deliver her a close in stern-rake and a similar bow-rake to the French 74-gun Fougueux sailing in her wake. The British 74-gun Belleisle follows the flagship in close support. |
 |
| As the Royal Sovereign breaks the Allied line and begins to turn, she is followed by the Belleisle 74 guns, adding to the woes of the Fougueux with a stern rake added to the bow rake she has just received. The Indomptable closest to camera joins the fray with a first broadside on the oncoming British flagship. Battle well and truly joined! |
As the Royal Sovereign turned to draw level with the Santa Anna, she was herself engaged by the 80-gun Indomptable and the battle was a tense struggle that would see her and the two first rates heavily engaged and seeing both flagships forced to take strike tests throughout as new thresholds of damage were inflicted and with the Santa Anna narrowly avoiding striking right at the close of our game and with Collingwood forced to test for becoming a casualty yet again as the second critical hit of 'High Officer Casualties' was inflicted on the Royal Sovereign.
 |
| The British attack develops in the wake of the Royal Sovereign and Belleisle as following ships arrive in echelon of attack. |
The Royal Sovereign was like the herald sounding the charge as the rolling attack began with Belleisle gliding in to cross the stern of the Fougueux causing a fire amid the carnage of the fire received, before turning to cross the bow of the Algeciras 74-gun flagship of Rear-admiral Magon herself taken in a stern rake by the Mars 74-guns; leaving the Frenchman shattered as the Mars came on to bow-rake the Spanish Monarca 74-guns, now further forward in the line as ships ahead were forced to take avoiding action as the British ships closed in.
 |
| The Mars 74-guns (centre of picture) having fired her bow chasers on the approach crosses the stern of Rear-admiral Magon's 74-gun Algeciras, with his command tricolour pennant flying on the mizzen as the Belleisle 74-guns aims to cut across her bow having stern-raked the Fougeueux and caused a fire on the French third rate (extreme right of picture) . |
As in most things numbers often tell the story as clearly as any description and the depiction of the ship record sheets that follow help to clearly illustrate the hammering each side was inflicting at short or point-blank range, with the Royal Sovereign below, displaying her scars of her day long struggle with the Santa Anna and Indomptable on either broadside, but clearly able to give as good as she got when looking at the damage inflicted on her assailants.
 |
| The Royal Sovereign displays medium damage, that doesn't quite capture the drama of three strike tests, easily passed, but with very high casualties to her officers and a main mast lost, resulting in over half her basic speed reduced due to the damage to her rigging, and with nearly half her batteries destroyed. |
When assessing damage for our campaign and for after battle results, ships are categorised, according to their hull damage and dismasting, with the strike level on the 'Damage Points' section of the ship records indicative of Worn (5-15%), Light Damage (20-25%), Medium Damage (30-35%) and Heavy Damage (40% plus and/or dismasted).
 |
| The battle with the Royal Sovereign has left the Santa Anna with heavy damage, probably saved by the intervention from the Indomptable, only lightly damaged in comparison, but having lost nearly 40% of her gun batteries. |
This scenario recreates the fight that broke out at the end of the Combined Fleet's line as the British ships aimed to pass between two enemies and then turn to luff up alongside their chosen foe to follow up the crushing stern rake just delivered with another close in broadside from the previously unfired guns, with an enemy ship still reeling from the stern rake and unable to escape with an enemy ship to leeward.
 |
| A battle within a battle as the Devonport based Royal Sovereign takes on Santa Anna and Indomptable and with the crew of the Royal Sovereign having to fight a fire as well as two enemy ships. |
As each turn progressed more British ships were doing the 'wash, rinse, repeat' on the Franco-Spanish line that was a mess at the start but becoming decidedly more so as the British ships brought on the ship-to-ship melee that only favoured them in the long-term.
The ship record cards that follow are grouped in the order of sailing and thus you can get a comparison between the discreet groups of opposing ships that ended up battering one another as these fights broke out along the line of Combined Fleet ships, with the battle below well illustrated between Belleisle, Mars, Fougueux and Monarca, with the two British third-rates carrying the damage principally from their run in and with their opponents having been shattered by the passing rakes they received, that saw both strike before our day was over.


 |
| The brig Argus is a spectator to the fight going on on her larboard side as the Mars grapples the Fougueux and prepares to board, and the French Pluton can be seen on fire (back left of picture). |
 |
| The Algeciras, Rear-admiral Magon's flagship (right of picture) finds herself grappled by the Tonnant as Royal Marines lead a storming party over her bulwarks, as the Bellerophon closes in on Monarca just aft. |
 |
| The Nelsonian melee is well underway in the afternoon session of the game as the last three ships in the British echelon, Colossus 74-guns, Achille 74-guns and Revenge 74 guns, prepare to engage, with the Montanes, Aigle and Swiftsure their likely targets. |
 |
| As the British charge in, the Bahama 74-guns has just swung her bow to starboard to avoid colliding with the oncoming Bellerophon 74-guns whilst firing off a broadside at the oncoming Colossus. Behind her can be seen the Spanish 74-gun Montanes, the French 74-gun Aigle and closest to camera the 74-gun Swiftsure. |
 |
| With Admiral Magon's flagship Algeciras grappled, she is forced to take a strike test now having been raked yet again by the passing Bellerophon and will strike in the next turn. Meanwhile everyone is giving the now struck but well alight Pluton 74-guns, burning in the background a very wide berth as the intensity of the fire takes hold causing the French third-rate to explode very soon. |


 |
| As our game draws into its final moves, the ends of both opposing lines come to grips, with the French frigates Themis and Hermione onlookers to the melee off their larboard sides, but ready to offer a tow to a friendly comrade that needs to be dragged free from the struggle. |
The last group of ship cards shows the vessels that received the least damage when the game finished as they were just coming into close action when we called an end to proceedings.


 |
| The game has reached a key decision point with the French flagship Algeciras losing its fight with the Tonnant and about to strike and with three other Combined Fleet vessels already struck or blown up in the case of the Pluton, the Allies have passed their breakoff threshold and Vice Admiral Alava will have to test to see if he loses his nerve and signals a withdrawal, but first needing to pass a strike test of his own in the fight between Santa Anna and the Royal Sovereign. |
We had had a great day, with lots of laughs and plenty of banter with like minds and it was great fun and a pleasure spending the time with the Penarth boys and we have plans to do some other future games.
Not only that but the game ended on two cliff hangers for the final result, with the Santa Anna, the only surviving Allied flagship now on the table, forced to take a strike test, and with this part of the Combined Fleet now having passed its threshold of three ships lost having to pass a break off test.


 |
| The Royal Sovereign now having put out her fire but still hotly engaged when our game ended and managing to cause the Santa Anna to take another strike test, that she passed |
Our game kept on giving as all eyes turned to the dice tower as Santa Anna took her strike test and passed with flying colours, that allowed Admiral Alava to assess the situation that faced his battered end of the line as the break off test was rolled needing a 5 or 6 on a d6 to allow the Allies to continue the struggle as a cohesive force, which was also passed.
 |
| After three hours of battle, the destruction wrought at Trafalgar, captured by Nicholas Pocock |
 |
| A picture straight out off Pocock's imagination, the battle lines have merged into a mess of battered opponents, leaving four of the Combined Fleet's ten starting ships, now captured or lost. |
The end result was only headed in one direction when we closed the game and it was only a matter of time before the remaining Allied ships would attempt to break contact, but the Allied commanders could feel justly proud of still being on the table as a cohesive fighting force at the end and in having given the British flagship a bit of a battering, narrowly missing taking out Vice-admiral Collingwood in the process.
Kiss Me Hardy performed yet again, producing a fast flowing game with lots of drama as well as a game full of narrative that I've tried to capture here. The models featured are all 1:700th scale from Warlord's Black Seas range, a scale that works easily with KMH, with no need to change anything and the cloth is one of Tiny Wargames excellent offerings, held snug to the table with my recently acquired table cloth weights that were clipped on at each end
Thank you to the NWS for putting on the show and to the Fleet Air Arm Museum for providing their excellent facilities, that included access to the museum, something I didn't get chance to partake in but will no doubt do so on another occasion, and to everyone we got to chat to during the day and who came over to watch the game, both Steve and I had a great day and I think we might well have to do this again.
More anon
JJ
JJ,
ReplyDeleteI really like your ship sheets for KMH, and left a comment over at TMP about them. I'm curious if you have the sheet in a Word document or something similar. I would really like to use them for my next game in December; they are much better than the ones I came up with.