Sunday 31 March 2013

New Wargames Table Finished

So the last post had the table construction finished in two days of sawing, nailing, screwing and sanding. Next jobs were staining the woodwork and cutting the insulation boards to go under the cloth.

The side panel released ready for staining


Dust sheets down, table masked ready for the wood stain
The next two days were a repeated application of several layers of wood stain to bring the bleached bone look of the new timber down to the warmer tones of Rosewood.

Thomas hard at work
And then it was done, with the insulation boards cut and in place, with the terrain mat in place and the wood looking lovely. Just need a few friends round with some figures on the table to let the good times flow.


A 9' x 5' table gives you acres of space especially when, like me, you game in 15/18mm.


Just to give an impression of how things will look I grabbed a few pieces of terrain and some of my WWII stuff and quickly put a show on. Somewhere in Poland late 1944 perhaps.


So that's the table project done, and a very satisfying way to spend an Easter bank holiday. Now back to the figure painting, which has continued whilst this project was happening. I have just finished off my Blue Moon British Foot Artillery so will post some comparison shots with my AB gunners in the next few days. Stay tuned.

Thursday 28 March 2013

New Wargames Table

Since deciding to move away from hex based terrain to using mats which are so easy to set up and take down, I have been thinking about altering my table to better suit this change. I am the owner of a perfectly good table tennis table, that performs a much better job as a 9' x 5' wargames table.

Imitation they say is the sincerest form of flattery, and I have long been an admirer of  Lord Ashram's set up and have studied his pictures of his table design that he built from scratch. I was particularly taken with his idea of using a fixed outer frame with a removable inner frame built around a base of insulation foam. The idea allows one to place hills on the foam, place the terrain mat over the top, and lock the mat in place taught over the hills by slotting the inner frame back into place.

Other terrain such as walls, trees and hedges can, with the clever use of pins attached to their base, be
used to pin other terrain such as road and fields into place through the mat into the foam below. For a clearer explanation check out the excellent reports on Lord Ashram's blog.


So with the decision to go with this idea, planning permission had to be obtained from Mrs JJ otherwise known as "She who must be obeyed", and a carpentry expert to head up the project as I know my limits. Fortunately my eldest son Thomas is very happy with a saw and drill in his hand and the opportunity to have some father/son man time on a joint project helped sell the idea to Mrs JJ.


Work started yesterday, with the removal of the old frame and the fixing of the outer and inner frames. In addition several sheets of insulation board were purchased, one of which can be seen in the photos, used to gauge the depth of the frame.

The outer and inner frames in place

Those shelf batons will need fixing in place
With day one and the two frames fixed it was on to the next stage. The inner frame carries a top beading that helps lock it together and gives a neat finish to the table. We also had some embarrassingly large pieces of lumber left over after sawing up the frame, so what to do with them?

The beading in place on the inner frame

Answer, down to B&Q for a set of brass hooks and hinges and hey presto, shelves for dice, range sticks, rules and beer glasses.

Really pleased with the fold away shelves, and the spirit level says they're level!

And while we were at it we might as well put one on the other side

Starting to look like the finished article

So here we are at the end of day two with the frame and shelves completed together with a sturdier set of under table storage shelves.


Day three will be painting on the Teak wood stain varnish to match the table with the figure and book cases more appropriate for a 1930's property.


My son, Thomas who, once he finishes at university, might well have a future selling designer wargames tables.


More updates later over Easter when we get the foam boards on and try out the terrain mat.

The table just crying out for a game

Tuesday 26 March 2013

Old School Wargamer

I must admit, I am a bit of a "Johnny come lately" on this topic that I saw on Steve the Wargamer blog, but I thought it was such an interesting note that chimed with a lot of my own thoughts lately about the hobby and some of the preferences we have when it comes to playing with toy soldiers. The thread came out of the chat amongst wargamers about the possibilities raised by the merging of Miniature Wargames and Battlegames, a subject I addressed earlier this month.

Steve talks about the way the term "old School" is used when describing wargamers and its association with Henry Hyde to describe the audience that Battlegames appealed to. I, like Steve, consider myself an "old school" wargamer, but hadn't really thought clearly what that definition implied. The post lays out what it doesn't imply, and I found myself agreeing. He then laid out his ideas about what it does imply and the values old school gamers bring to the hobby. This summary is quoted below and it pretty well sums up my own philosophy about my hobby.

"Old School wargaming is about the enjoyment of doing original research into the history of the period that you choose to wargame - our history doesn't come from the latest Annexe, or Supplement to our chosen rule set. The Osprey is not seen as the be-all and end-all - just a helpful starter, a pointer to other books we want to read....  Old School wargamers like to do research..  they like to read weird and interesting facts about our favourite periods in history...  an Old School Wargamer will have large bookshelves full of military histories, books about uniforms, tactics, organisation and strategy....

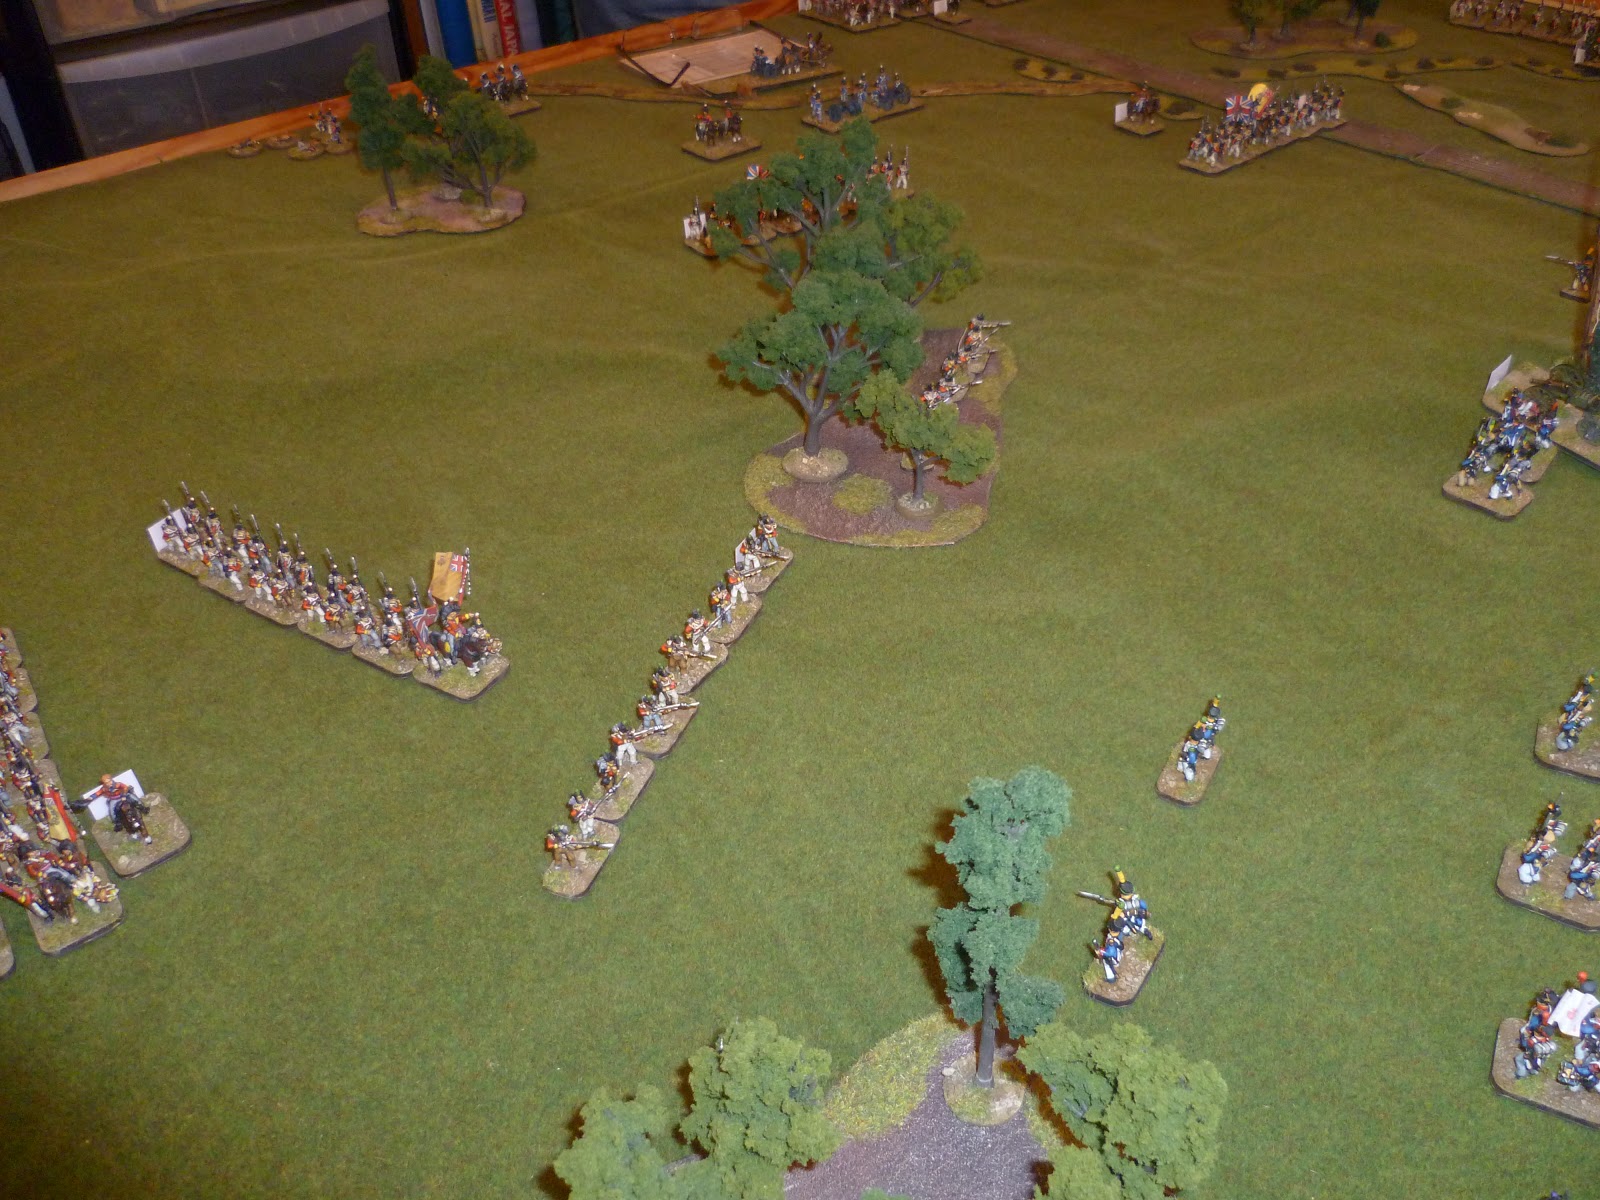
~ Because of their research Old School wargamers understand that what happens on the table top bears no resemblance to the horrors of what happened on the actual battlefield - it is not just a game, it is a representation, and while bearing no resemblance, the Old School wargamer will attempt to model some of the specific historical or military elements he has read about

~ By and large, old school wargamers are not tournament players (I've found) or rules lawyers - I prepare to be corrected but on the whole the tournament rule jockeys, and Old School, simply do not co-exist....

~ Old School wargamers would not think twice about taking the weaker side or playing an unequal scenario, they have an interest in seeing if they can turn the tables, or come up with a result that is not expected - and if they don't, then they enjoy the game for what it is - an intellectual exercise between two or more like minded people....

~ By and large, old school wargamers behave in a courteous/gentlemanly/ladylike manner (I've found) - playing a wargame with an Old School Wargamer should involve copious libations (hopefully alcoholic), lively good natured badinage,  and an agreement to meet each other half way - disagreements are quickly resolved with the D6

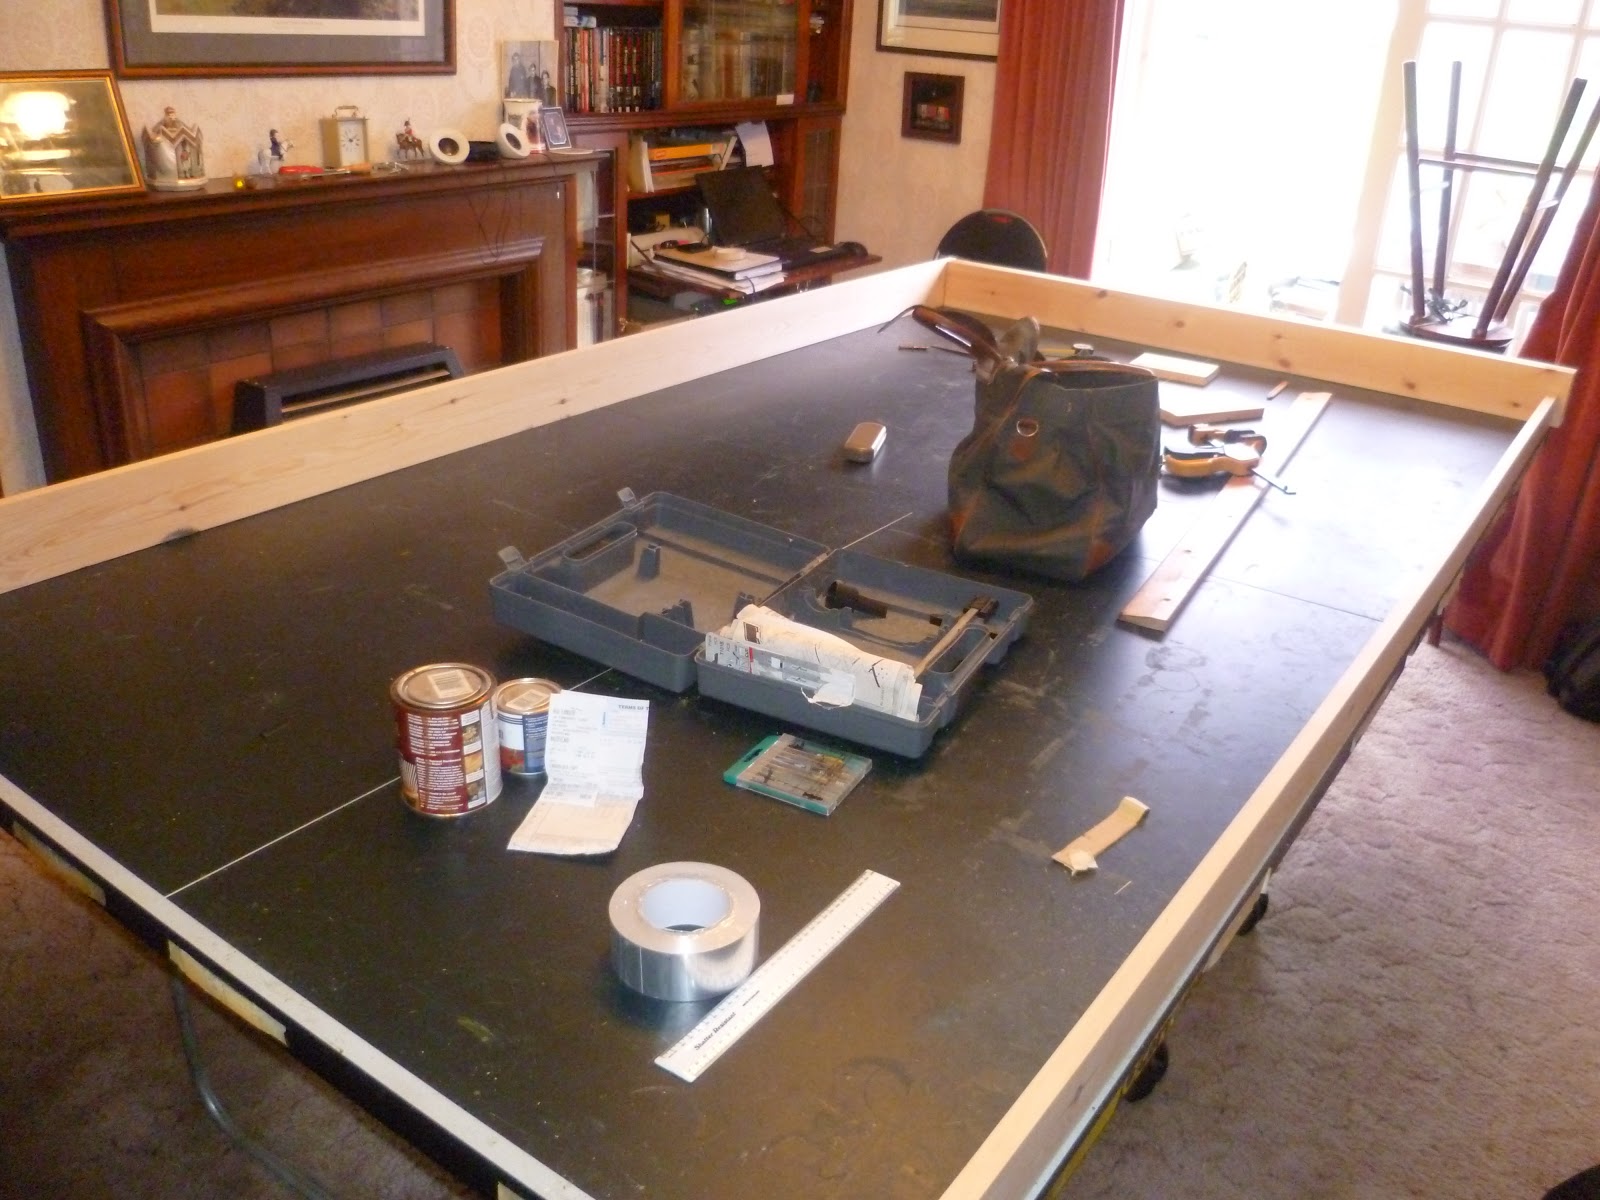
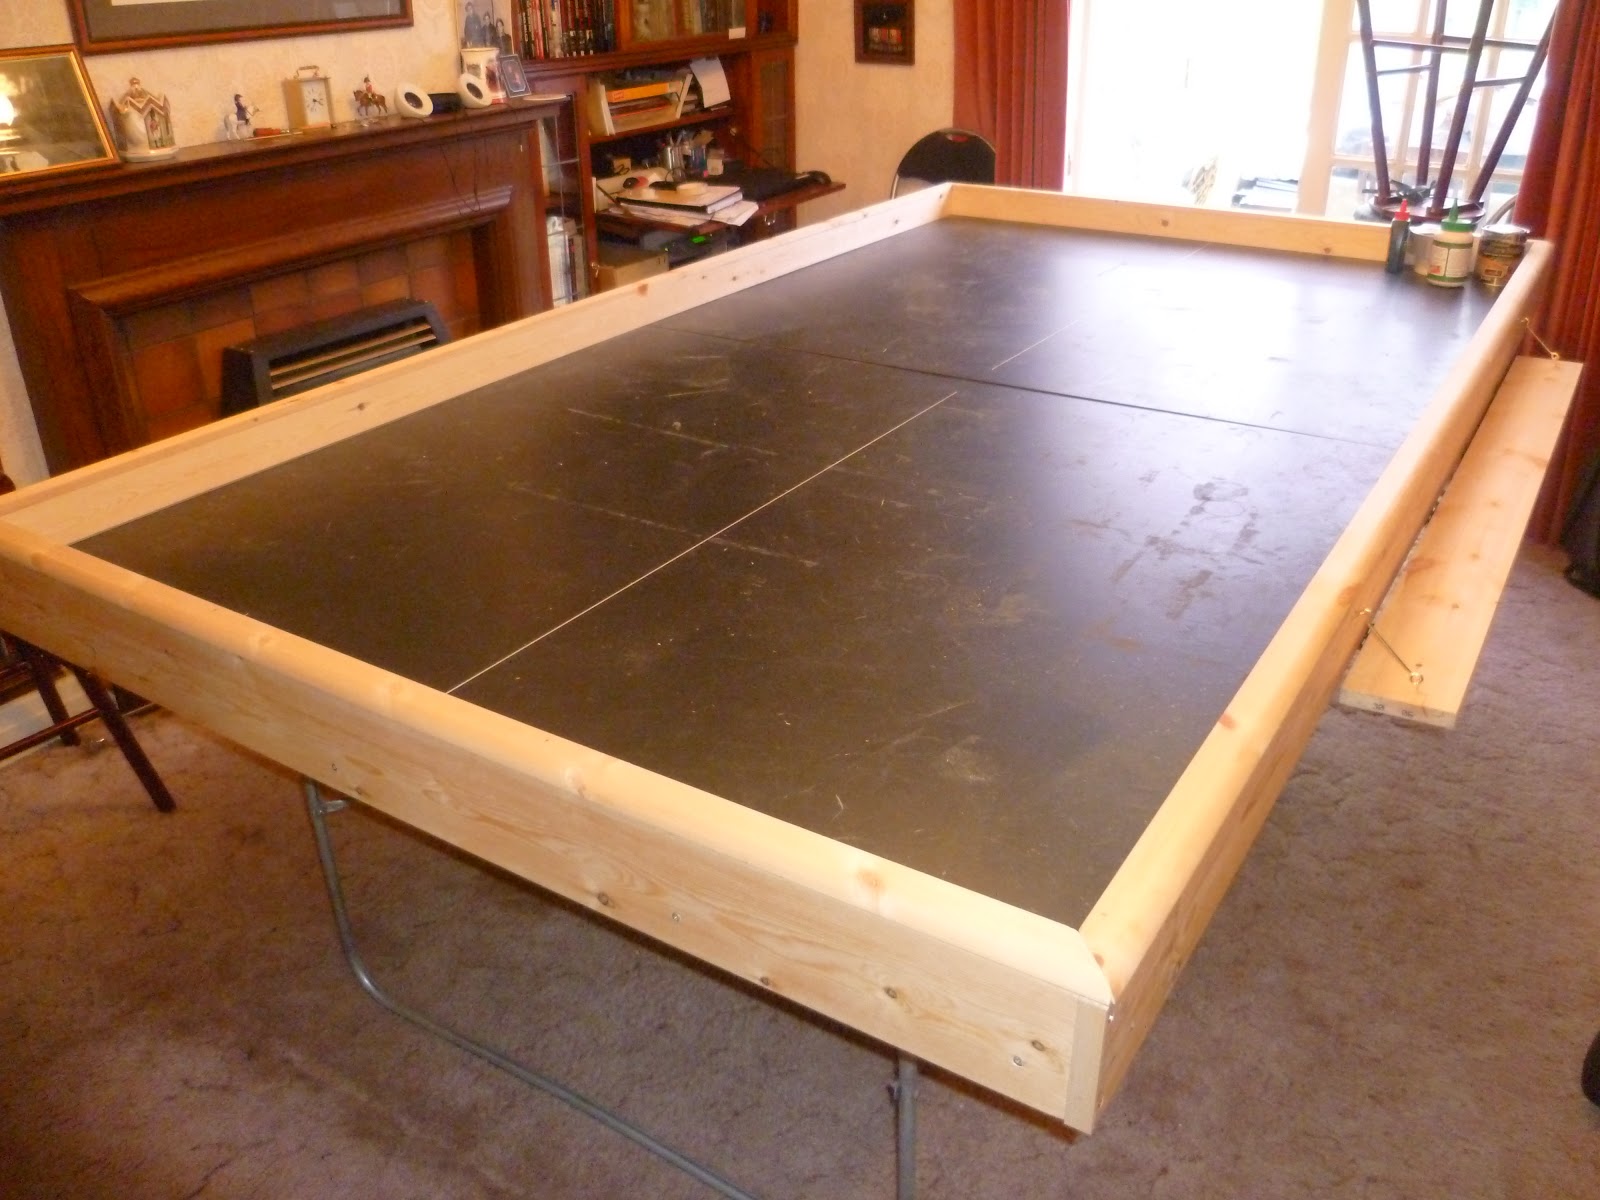
~ Old School wargamers have a practical, do it yourself, ethos...  if the thing you want can't be bought, or is too expensive, we make it ourselves - we write our own rules, make our own scenery, and get great enjoyment from it....


...but most of all, Old School is a way of life .... you just....    are....  "


Painting Tutorial Part 3 - British and French Casualties

This final stage is by far the quickest as at this stage we are only applying relatively small amounts of paint. I find I can move quickly from figure to figure adding these highlights. As you can see I have endeavoured to avoid mixing lighter shades of any given colour, but occasionally you will have to.

The Brits with their final touches done
Ok so the final touches include:
Flesh - Vallejo 955 Flat Flesh
Red areas - Vallejo 910 Orange Red
Blue areas - Vallejo 965 Prussian Blue mixed with 820 Off White roughly 2:1
British Canteens - Vallejo 901 Pastel Blue
Brown Trouser/Back Packs - Vallejo 929 Light Brown
Buff Straps/gourds/bread bags, British jacket lacings - Vallejo 976 Buff
Metal work on muskets - Vallejo 865 Oily Steel
Yellow plumes and cuffs/collars - Vallejo 915 Deep Yellow
Green Plumes/chords - Vallejo 967 Olive Green
and lastly the French turn backs start out red, then add Cd'Arms 231 Mid Grey, topped off with Vallejo 820 Off White.


I will finish these guys off with Ronseal acrylic quick drying matt clear varnish, followed by a coat of Vallejo matt varnish thinned 50:50 with water, and that is job done apart from basing, but you know how to do that!!

One thing I would stress is that good reference books should be close at hand during painting, as it is easy to forget what item is what colour. I hope you find these painting guides helpful.

Sunday 24 March 2013

Rolica 1808 - Carnage & Glory AAR

Today we got to test the Carnage & Glory II scenario for Rolica, a copy of which is available on the scenario links. The game starts with the French brigade under DeLaborde holding Rolica Hill and Rolica village with the four brigades under Sir Arthur Wellesley looking to drive them from the field with minimal loss as per the historical result. The French are required to hold the field for twelve moves ensuring that the Allies do not control Rolica ridge in that time.


View of the French line based om Rolica and Rolica Hill with the 70th Ligne operating in extended order
Our game saw a canny French withdrawal using the Swiss as a forlorn hope to hold Rolica and its road network. This forced the Allies to march cross country in pursuit of the main force whilst suffering continual skirmish and artillery fire.

Hill's brigade closes in on the French left

Fane's brigade moving on the French right flank

Nightingale's brigade deploy in the centre as they approach Rolica Hill
The plan was working very well up to the halfway point when as the French were pulling back from Rolica Hill with the 70th Ligne in extended order, Wellesley brought up the 20th Light Dragoons to put pressure on the rearguard. The plan nearly worked, as the cavalry cresting the hill found the 1/70th Ligne still in extended order and close enough to be caught by a charge. The French infantry only just managed to form square repulsing the cavalry who fell back to be rallied by Wellesley himself.

As the British close on the French line, they fall back with the guns limbering and pulling out

The French withdraw back to the ridge
The British light cavalry charge had unknowingly derailed what had been an efficient withdrawal back to the ridge in preparation for the final stand. As the French commander ordered the 70th to resume the withdrawal, the battalion refused to break square. The luxury of time was not with the French as the British brigade under Nightingale supported by the artillery crested Rolica Hill to find the French infantry at their mercy.

The 9th Foot, part of Hill's brigade approach Columbeira
Meanwhile the Allied flank columns kept up a remorseless pursuit of the remaining French forces and by turn nine were closing in on the ridge line.


The 29th Foot part of Nightingale's brigade close on the Swiss occupying Rolica
The French force fell back through the passes on the ridge with the bulk of their infantry supported by the guns and Chasseur a Cheval holding the French left. This left just the 3/2nd Legere to hold the French right on the Lisbon road facing the two rifle battalions and the 45th Foot of Fane's brigade.
It was going to be a close run thing with just three moves remaining.

The French prepare their final stand on Rolica ridge

The British assault the ridge
Sadly for General DeLaborde, despite the heroic resistance put up by the guns, light cavalry and the 2/70th Ligne, the 3/2nd Legere were not up to the task of holding off the 95th Rifles who giving three cheers charged up the defile flanking the Legere unit who promptly turned tail and fled down the road.

Fane's Rifle brigade capture the Lisbon road, penetrating the French lines

Nightingale's Light battalion tackles the French guns blocking one of the passes
Frustratingly the game ended for the French force with the collapse of the 3/2nd Legere as this tipped their force morale over the break point on turn eleven, giving Sir Arthur Wellesley a major victory, when the casualties were assessed together with the surrounded and cut off 1/70th Ligne and 4th Swiss.

The Swiss stranded in Rolica as the French main force breaks from the ridge in full retreat

The 1/70th Ligne in square surrounded by the British advance were forced to lay down their arms

The Swiss negotiate their surrender with the 6th Cacadores of Crawford's reserve brigade.
This is our first playing of Carnage & Glory for Napoleonics, and we thought they were excellent. Once the basic sequence is mastered, which takes no time, the game flows seamlessly, with those extra bits consisting of unit reports after combat and reactions to officers joining them. The British players looked somewhat dejected as the 20th Light Dragoons bounced off the 1/70th Ligne's hastily formed square only to smile happily as the system announced the cheer from the rebuffed cavalry as Sir Arthur Wellesley approached them to restore their order.

Many thanks to Steve, Mike, Gus, Jason and Nathan for a great day. Next up Vimiero.

Saturday 23 March 2013

Big Game Tomorrow - Rolica, Carnage & Glory

I'm really looking forward to tomorrow, as I have friends coming over to my place to re-fight the Rolica Scenario using Carnage & Glory.

The full table set up looking from the Rolica ridge with the French in the centre and the British at the top

French Legere outside Rolica, with the windmill getting its first appearance
It's a great feeling with the game set up on the table, with everything ready to go, and the anticipation of a good day to look forward to.

The 1/70th and 2/70th Ligne on Rolica Hill

Sir Arthur Wellesley in the centre with the guns and Nightigale's brigade

Crawford's brigade in reserve behind Nightigale's
In the meantime I thought I would post some pictures of the game ready to go,with a full after action report to come and a copy of the scenario.

General DeLaborde alongside my caisson getting its first game

The rear of the French lines outside Columbiere

More later.