It was way back in December 2016 that Tom and I walked the last Battlefield in Devon report when I covered the Battle of Torrington in 1646.
The county of Devon has a long and rich history and in the last two millennia armies have come and gone and the countryside often gives little clue as to the bloody combat that has occurred among its pastoral scenery evocative of Tolkien's Shire with its narrow lanes, high hedgerows and hills and valleys, known as combes locally, interlaced with rivers and woods, only adding to the attraction of its beaches for holiday makers coming here each summer season.
The map below shows the extent of the county with its two large open high granite stones moorlands, namely Exmoor and Dartmoor where the springs of the Rivers Dart and Exe find their source. This map also serves to show the fields of battle visited so far and you can follow the links below it to pick up on other sites visited
 |
| Battle sites in Devon visited with links to previous posts below |
Battlefields in Devon - Battle of Torrington
Battlefields in Devon - Battle of Bindon
Battlefields in Devon - Battle of Bovey Heath
Battlefields in Devon - Battle of Lydford
Battlefields in Devon - Battle of Sourton Down
This next battle site was touched on in a post I did covering some test games of Dux Bellorum, Steve M., Bob and I were running to put together a scenario to be played at the February club meeting of the Devon Wargames Group.
Battle of Pinhoe 1001 AD - Dux Bellorum
That game has now been played, following three play-tests prior to it, to arrive at a scenario that would capture some of the bloody struggle that occurred on Beacon Hill near Pinhoe, Exeter in 1001 and you can read how our game turned out plus pictures of the action by following the link to the DWG club blog.
Devon Wargames Group - Battle of Pinhoe, Dux Bellorum
This post however adds the final look at this classic Anglo-Saxon versus Viking Raider clash by looking at the battlefield today and a link to the PDF of our Dux Bellorum scenario should you wish to have a go yourself.
I have lost count the number of times I have written or spoken about the insights walking a battle site gives that can't be experienced by simply reading an account of what happened with a description of the key terrain.
Only when you experience how steep Beacon Hill is will you appreciate the 'charging uphill' modifier that I have applied to the Viking force in the Dux Bellorum scenario because I have experienced the effort of walking up it, not as the Vikings, clad in mail, carrying a large axe and shield, but also not having then to charge a formed shield wall on top of it, trust me, it was knackering in 1001 and it still is in 2019.
 |
| The route from Battlefield Walks in Devon by Rupert Mathews and the one I followed from the railway station up Park Lane to the open field atop Beacon Hill near St Michael's Church |
I described the background to this encounter in my post about the first play-test so here I will focus on my walk and the terrain encountered.
 |
| The walk uphill to the village shops from the railway station |
Parking my car close to Pinhoe station on the main line to London I began the steady climb uphill through the village towards the B3181 that forms the main road into and out of the village.
Pinhoe was thoroughly sacked and burned by the Vikings and the village you see today is a mixture of medieval, Victorian and later houses as the village grew up around the railway and the city of Exeter.
 |
| Pinhoe is typical of the villages in Devon with many an old thatch to be seen about and here on the B3181 (see map above) |
Rupert Mathews in his Battlefield Walks book covering Devon, suggests Park Lane as a likely route out from the original settlement that the Vikings took after gathering in the village to eat and prepare to offer battle to the Saxons on the hill above the village.
 |
| Park Lane is a likely route taken by the Viking raiders on their climb out of the village and passes the aptly named Saxon Avenue. |
On climbing the hill one immediately starts to appreciate the commanding views of the wider country together with the landing site of the raiders in the River Exe, forcing the Vikings to attack them rather than leave such a powerful force to threaten their boats and thus progress inland searching for other villages to loot.
 |
| Even half way up Park Lane you can start to appreciate the height of Beacon Hill and the controlling view of the countryside it offered Kola and his Saxon Fyrdmen |
 |
| Even from the lower heights one can observe the mouth of the River Exe where the Viking boats moored and the villages along it would have had palls of smoke rising indicating the route inland taken by the invaders |
It is thought that the current 15th century St Michael's Church was likely built to accommodate the ground on which the Saxon Christian burials were made following the battle and forms a useful reference point when walking up the hill.
 |
| Nearing the summit of the hill the tower of St Michael's Church, likely built on the site of the Christian burial pit can be seen poking above the hedgerows |
 |
| Park Lane climbs on up to the summit of Beacon Hill |
The views, once out into the open countryside, are truly awe inspiring and on the day of my walk the clouds parted to let the sun shine through and remove the threat of any further heavy showers.
 |
| The views of the Black Down Hills and East Devon are spectacular up here especially when the sun starts to break through the rain clouds |
 |
| God's own country and explaining why 'Devon' rhymes with Heaven |
 |
| On reaching the top, the lane leads off to the open ground above the village via a bridleway |
Despite the sunshine however the previous heavy rain had left the short cross country part of the walk a little more interesting, but with a stout pair of boots on, worth the effort to see the likely site of Kola and Tokesen's bloody little encounter.
 |
| At this time of year bridleways can be a bit slippy, but hey this is part of the fun of battlefield walks |
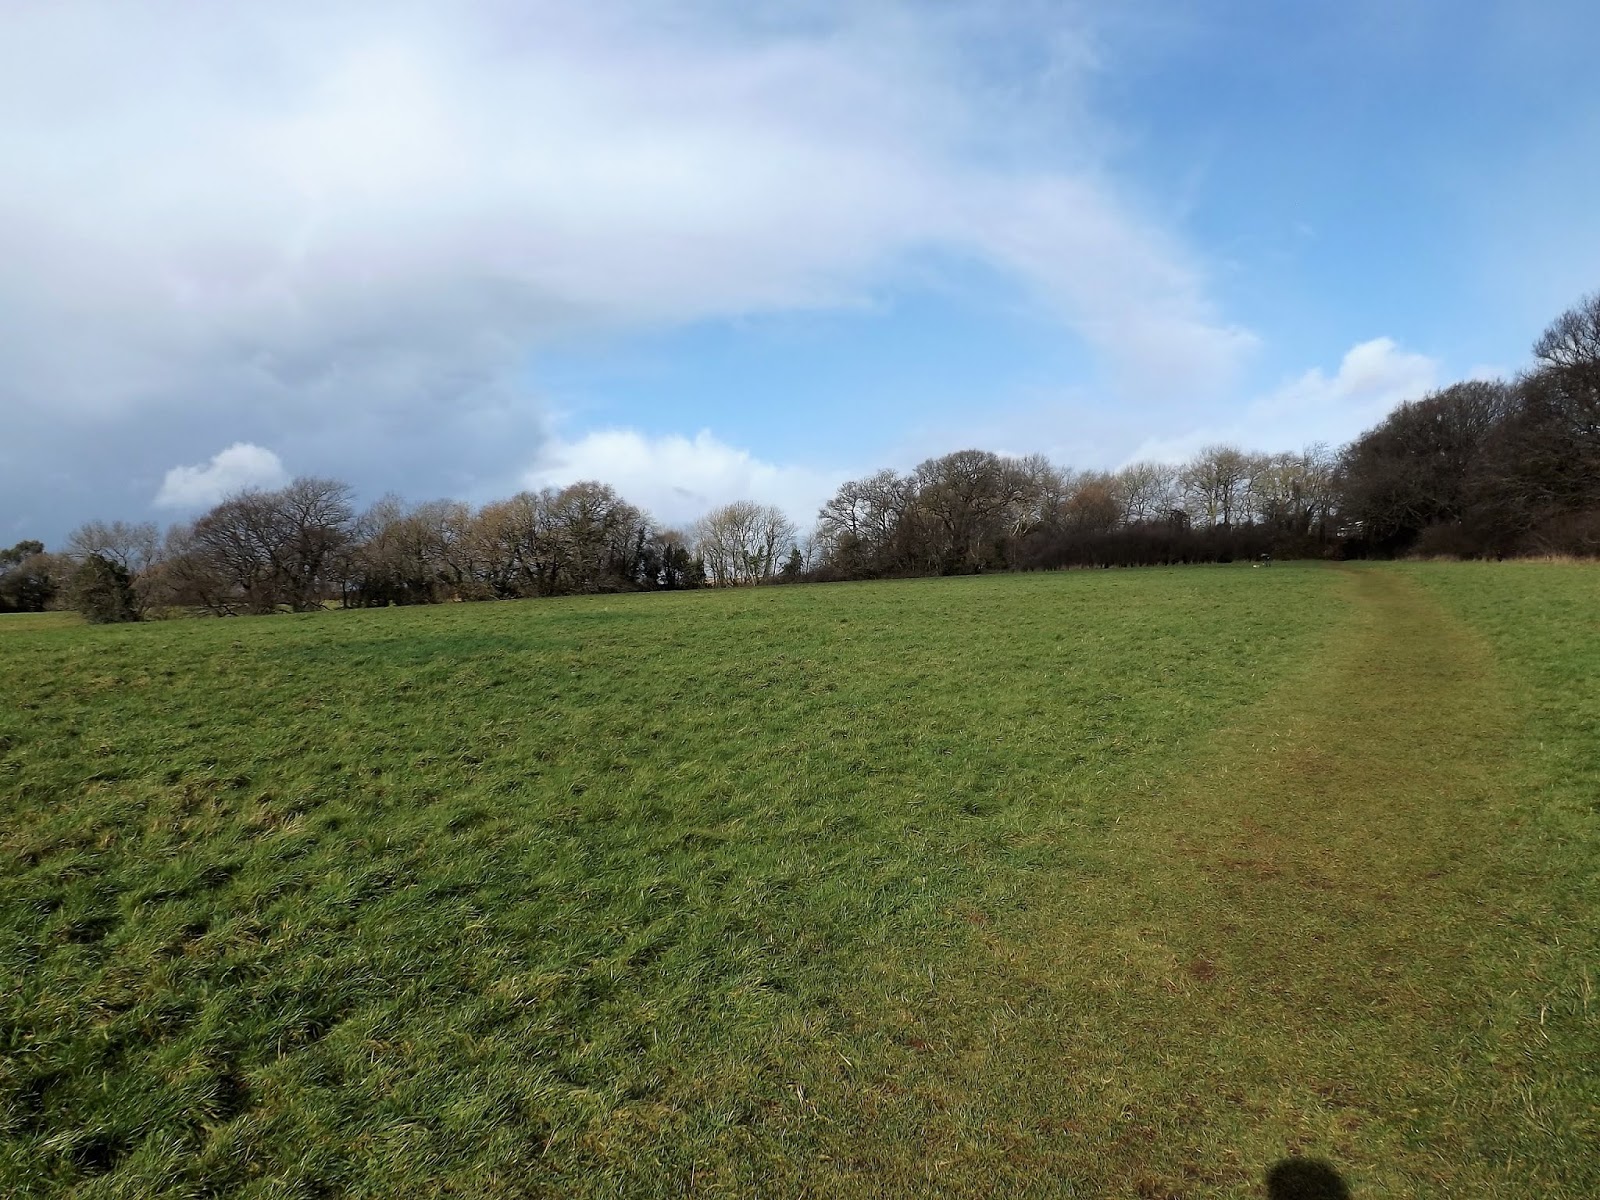
Stepping through the 'kissing gate' onto the battlefield presented the view below which, with a lot of the built up areas in the Clyst Valley below imagined as open fields, has changed little in one thousand years.
 |
| Stepping out on to the top of Beacon Hill where Theign Kola is likely to have formed his shield wall as Tokesen's Vikings emerged onto the hill near the church in the bottom left corner |
 |
| The fact that only the church tower can be seen from the hill crest shows the steep gradient up which Palig Tokesen and his raiders launched themselves into the line of Devon Fyrd |
The scant report of the battle suggests Tokesen and his men launched themselves immediately uphill when they caught sight of the Saxon line and hit with such ferocity that the first charge settled the affair in favour of the raiders.
 |
| Off to the right of the Saxon line is a glorious view of Exeter and too which the they successfully broke contact and retreated to after the battle |
That said the Anglo Saxon line put up enough of a fight to be able to break off from the battle and get back to Exeter and cause the raiders to head back to their boats and depart soon after.
 |
| The same battlefield seen from the Viking lines |
There is something quite moving to picture the struggle that occurred on a site particularly when situated in such a beautiful place like Beacon Hill.
I only hope this place survives the hunt for more and more building plots in this part of Devon to allow others in the future to get the experience I was lucky to enjoy on my afternoon walk.
 |
| One has to imagine around 6,000 heavily armed men going at it "hammer and tongs" as the opposing lines met in mortal combat |
 |
| The 15th c. St Micheal and All Angels Church, Pinhoe in the red sandstone typical of this part of East Devon |
I finished my walk by taking time to look at St Michael's Church which forms an equally pretty backdrop and stands as a memorial to the bravery of the vicar of Pinhoe at the time of the battle who it is reported braved a journey to and from Exeter to deliver extra arrows and other weapons to the hard pressed Saxon army.
 |
| The vicar of Pinhoe, following its sacking and burning by the Vikings, is reported to have courageously ridden to Exeter to get more arrows for the Anglo-Saxon army, for which he received an annual payment of 16 shillings after the battle |
 |
| St George and the Dragon in the porch window seems to capture some of the drama of 1001 |
 |
| The beautiful 17th c. thatched lychgate of St Michael's |
Rupert Mathews the author of the book I am using to plan these walks has his own blog and you can read his account of this walk and battle in the link below.
https://thehistorymanatlarge.blogspot.com/2010/02/battle-of-pinhoe-devon-in-year-1001.html
Finally, as promised, you can access the scenario and orders of battle for our Battle of Pinhoe, Dux Bellorum game in the link below.
Battle of Pinhoe PDF - Dux Bellorum