
 |
| James Tuchet, 5th Baron Audley leads his men over Wemberton Brook at the Battle of Blore Heath 1459 |
Back in July, Mr Steve and I travelled up to Shrewsbury where we based ourselves for a couple of days to explore the area along the English-Welsh border and the history and sites of military interest.
In the first part of this series of posts I took a look at the historical aircraft collection that we enjoyed seeing during our trip when we travelled to the Royal Air Force Museum at RAF Cosford, see link below.
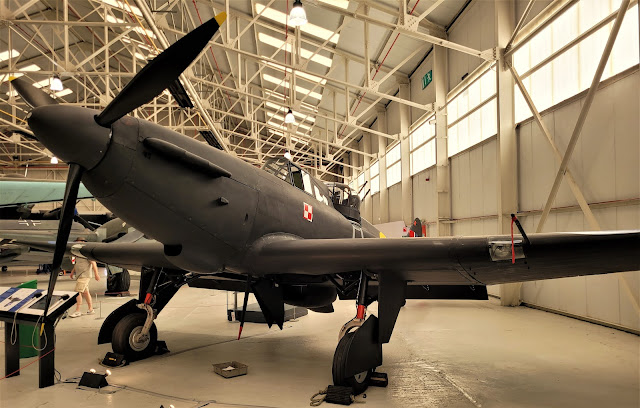 |
| JJ's Wargames - RAF Cosford |
During our visit to Cosford we travelled out into the countryside, following the Shrewsbury to Newcastle under Lyme road along which lies the Wars of the Roses battlefield of Blore Heath.
The drive to prepare for any upcoming violence was lead by Queen Margaret of Anjou, in the name of her husband King Henry VI, distributing the emblem of a silver swan to noblemen and squires enlisted by her personally, whilst the Duke of York defied threats of severe punishment for raising arms against the king, finding many like minds in areas where anti-royalist support ran high.
 |
| Richard Neville, 5th Earl of Salisbury |
The two adversaries found themselves needing to amass their forces with Richard Neville 5th Earl of Salisbury looking to lead the force he had gathered at Middleham Castle in Yorkshire south to meet the main Yorkist army under York at Ludlow Castle in Shropshire, whist the queen made aware of these manoeuvres ordered James Tuchet 5th Baron Audley to move to intercept them as they passed through the royalist heartland of the Midlands.
The main royalist army was based at Coventry and on the 20th September 1459 marched to Nottingham via Market Harborough having completed a circular march through the towns of Nuneaton, Burton upon Trent, Lichfield and Coleshill rallying supporters.
 |
| Taken from Hugh Bicheno's fascinating two volume history of the wars, the map shows the approach routes of the various Lancastrian and Yorkist armies that led up to the Battle of Blore Heath on the 23rd September 1459. |
At Newcastle under Lyme, Salisbury's scouts would have no doubt informed him that he was now at the centre of a closing ring of royalist armies with Lord Stanley following with the men of Lancashire, the king marching from Nottingham, the queen closing in from the south with her retainers from the Midlands and the 61 year old James Tuchet, 5th Baron Audley approaching from Chester with men drawn from his estates in Cheshire, Shropshire, Staffordshire and Derbyshire.
 |
| A closer appreciation of the last movements before the battle |
On the morning of the 23rd September 1459, Audley with a force estimated around 8,000 men took up a defensive position on the south western edge of Blore Heath, behind a 'great hedge', the hedgerow running down from Blore village, and facing in the direction of Newcastle under Lyme from which Salisbury was approaching with a likely force of some 5,000 men; with the Lancastrians able to boast thousands of Cheshire archers, famed for the deadliness in the Hundred Years War, amid their ranks whilst the Yorkist force was bolstered with a core of experienced Marcher soldiers.

In Hugh Bicheno's account of this battle in his first volume covering the Wars of the Roses, 'Battle Royal', the author lists the various sources that account for the descriptions of it, pointing out that the drawn on personal accounts from the participants form the basis of many of the descriptions recounted, together with all their potential inaccuracies and with men in battle understandably focussing on their immediate surroundings, stating that 'the only dependable witness remains the terrain'.
 |
| The Battlefield of Blore Heath, showing the positions of the opposing forces and the positions (1, 2 & 3) Steve and I walked to to view the battlefield |
He then goes on to state that the battlefield of Blore Heath is almost pristine, but that the standard account of the battle itself is rather 'two dimensional' in its pointing the finger at Audley for tactical incompetence, having supposedly abandoned an impregnable position to make a mounted charge across a brook to an utterly predictable destruction, supposedly tricked into doing so by a feigned retreat by Salisbury's right wing.
The author then confidently states 'he did not' and I was immediately intrigued having walked the battlefield and seen the ground for myself and with the standard account firmly in place as I viewed it.
 |
| Bicheno's map of the positions occupied by both armies clearly illustrates the positioning of Salisbury's guns in the wagon 'fort' overlooking the Market Drayton ford and the other crossing further along on the Lancastrian right flank |
The point about the terrain is a good one and I and others have often stressed the importance of walking the field of battle when ever trying to understand what might or might not have happened, and perhaps Blore Heath is a good case in point with the dominating feature of Wemberton Brook described in commentaries as 'not very broad, but somewhat deep', lined no doubt in 1459 as it is today by bushes and trees.
In addition the ground overlooking the ford on the Market Drayton road occupied by the Lancastrians is relatively steep sided and any attempt by Salisbury to force this position, which he needed to do if he were to avoid encirclement by a reinforced enemy, would have required him to position his guns on the opposite high ground to support any such attempt.
His only other option would have been to have attempt to get around the Lancastrian right flank using the other ford, but the Lancastrian line was such that even that crossing was covered, even though the ground there was less steep and more open to view.
 |
| Facing NNE, the 'great hedge' forming the front line of the Lancastrian position facing the Yorkist lines on the slopes beyond with the intervening low ground between tracking the course of the Wemberton Brook, indicated by the tops of the trees lining it. |
As Bicheno goes on to state, Salisbury's position could not have been much worse, with a numerically stronger force to his front contesting any advance to join York at Ludlow over the crossings of the Wemberton Brook and with the queen's army only some nine miles away to the south-east and with the king's not far behind, and with his son-in-law Stanley to his rear not likely to allow him to fall back should he be forced to withdraw and a Lancastrian success likely.
 |
| The woodland beyond Audley Cross Farm can be seen beyond the hedge line marking the forward positions of the Lancastrian line |
However the defensive strength of the terrain was also to prove Audley's undoing as the Lancastrian commander found himself faced with a quandary, following the likely unsuccessful attempts to get Salisbury to capitulate on terms following a likely parley; this failure only added to by Stanley's dawdling around Newcastle under Lyme.
 | |
|
The fact of the matter was that Audley was under pressure to act rather that to simply sit back and await the arrival of the queen, as she had given him direct instructions to bring her Salisbury, dead or alive, and he could not risk the consequences of the latter slipping away under the cover of darkness having failed to use his greater strength to seek battle.
 |
| Audley was under pressure from Margaret to act but was likely no fool. |
Point 2.
Bicheno takes a rather more convincing assumption that Audley was not a blundering fool and that he likely devised a plan to take full advantage of his stronger force, by first advancing his van placed above the upper ford on his right flank and thus pinning Salisbury's left flank.
 |
| This is the view from the extreme Lancastrian right with ground much more open and less steep with the tree line beyond marking the brook and the Yorkist line beyond that |
Following this advance Audley may have rapidly advanced down the forward slope in his centre with the main battle and with his mounted men-at-arms to the fore hoping to gain a tactical surprise by dismounting at the brook and advancing across it on foot and thus hoping to grab Salisbury's attention on his right flank and likely draw in his reserve; before Dudley on the reverse slope of the plateau, likely out of sight, would have led the Lancastrian rear battle on the left, forward across the upper ford on the Market Drayton road, supported by the reserve, to support Audley's advance and take out the Yorkist wagon fort by frontal assault.
What I find most convincing about this likely plan of attack is the fact that, as Bicheno states, the account of Audley's mounted charge uphill into a likely Yorkist arrow storm flies in the face of experience gained during the Hundred Years War that would have convinced Audley of the impracticalities of such an attack.
Especially given that any advance over the brook was going to remove one of the key Lancastrian advantages, namely the superiority of their Cheshire archers in any contest with their Lancastrian opponents, with his point that nobody, bar the Heavy Brigade at Balaclava, ever launched a cavalry charge uphill.
 |
| The view ENE out towards Blore Farm in the area Bicheno suggests that Salisbury may have initially kept his reserve |
However, although Audley's plan was designed to overpower the Yorkist right and centre with numbers, it relied on timing, and the arrival of the separate Lancastrian battles just at the right time and in support of one another, if they were to avoid defeat in detail.
 |
| Lancastrian archers in action at this year's Tewkesbury Medieval Festival JJ's Wargames - Tewkesbury Medieval Festival 2022 |
In addition it also presupposed that the command and control of those Lancastrian formations would be maintained throughout the advance to contact, as the Yorkist archers on the top of the opposite ridge showered them in arrows before the opposing men-at-arms could come to grips, with any loss of command and control combined with casualties sustained likely having a huge morale affect on any continued advance to contact.
 |
| Looking across the crop field towards the Hemp Mill building, just peeking through the trees that has the small foot bridge over the brook seen below, close to the area where Audley probably dismounted to proceed uphill towards the Yorkists line. Audley Cross is situated centre right beyond the trees on private land. |
Point 3.
Nothing is ever certain in battle and Audley's attack was repulsed as he himself was killed in hand to hand fighting by a man thirty-five years his junior, 26-year old Roger Kynaston of Hordley in Shropshire who, thereafter quartered the Tuchet arms with his own
.svg.png) |
| Sir Roger Kynaston of Hordley, Shropshire |
With the swift overthrow of Audley's attack, Dudley's attempt at a coordinated attack went in too late to perform the knockout punch and with the need to support the Main battle that was fighting hard to avoid being slaughtered pressed on, but coming under increasing attention from the men and guns in the wagon fort, now no longer engaged by Audley.
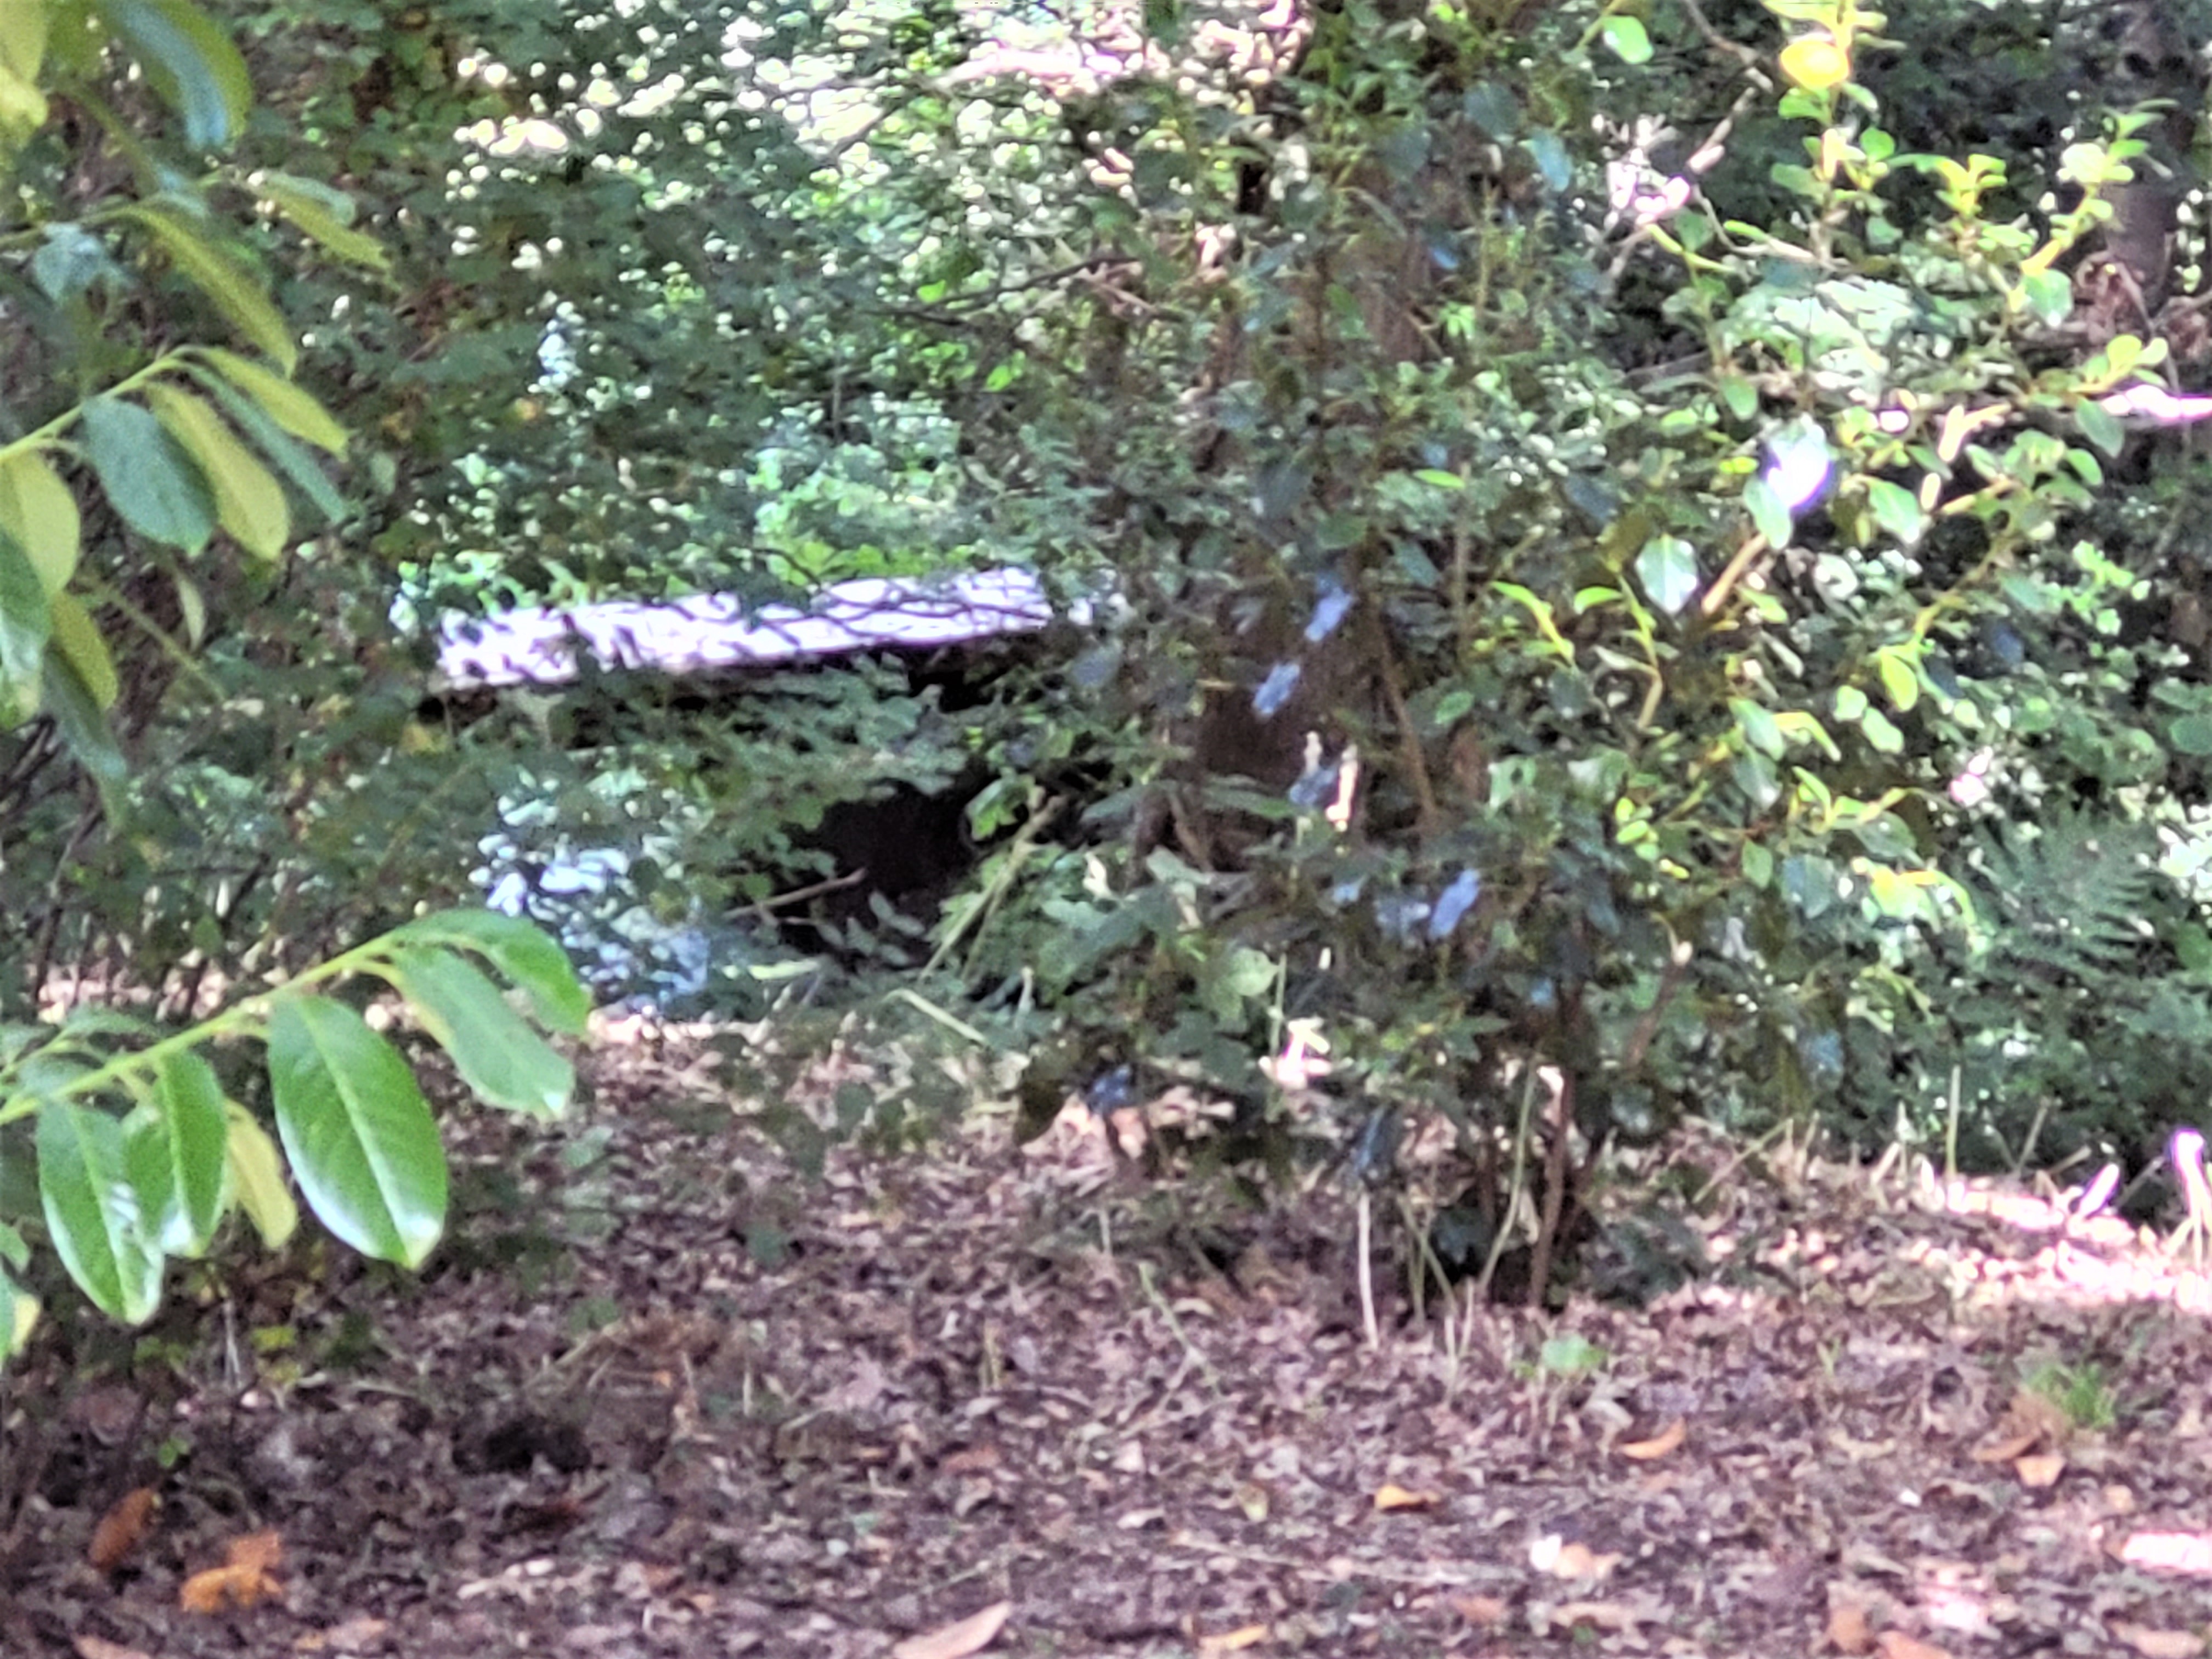 |
| Much of the ground is privately owned including access to Audley's Cross marking the position where he was killed, but we caught a glimpse of the brook, beneath this small foot bridge at Hemp Mill, giving an indication of this awkward barrier to the advance by Audley's Main battle. |
The novelty of coming under artillery fire would have likely added to the casualties caused by the Yorkist archery to further unsettle Dudley's attack, and seeing the Main battle thrown back down the slope, together with the loss of their commander as Dudley fell wounded, the Cheshire knights fled, leaving their men at arms to be harried mercilessly back to Market Drayton; the field next to the bridge on the modern A53 over the River Tern near the town, where they were trapped, was known as 'Deadman's Den'.

Casualty figures quoted have to be taken with a large pinch of salt, but Bicheno estimates Salisbury losing around 1,000 men taking into account the likely close range archery exchanges and hand to hand fighting, and the Lancastrians perhaps losing double that number, when casualties are added in to those suffered in the rout.


As a postscript to our visit to Blore Heath we drove on to the small village of Mucklestone which lays claim to the interesting tradition that Queen Margaret watched the battle from the tower of the village church and later had the local blacksmith reverse the shoes on her horse to aid her escape from the area following the Lancastrian defeat.
 |
| Queen Margaret as portrayed at Tewkesbury this year JJ's Wargames - Tewkesbury Medieval Festival 2022 |


Despite the rather astonishing outcome, Blore Heath was to prove a pyrrhic victory for the Yorkists as it saw Salisbury forced to abandon his equipment as he marched to avoid the pursuit of Henry and Margaret's forces and ended up bring relatively few men to Ludlow to join York and Warwick, the latter having arrived with 300 veterans from the Calais garrison under Andrew Trollope, swelled by further recruits gathered in Kent during his march up from Dover.
 |
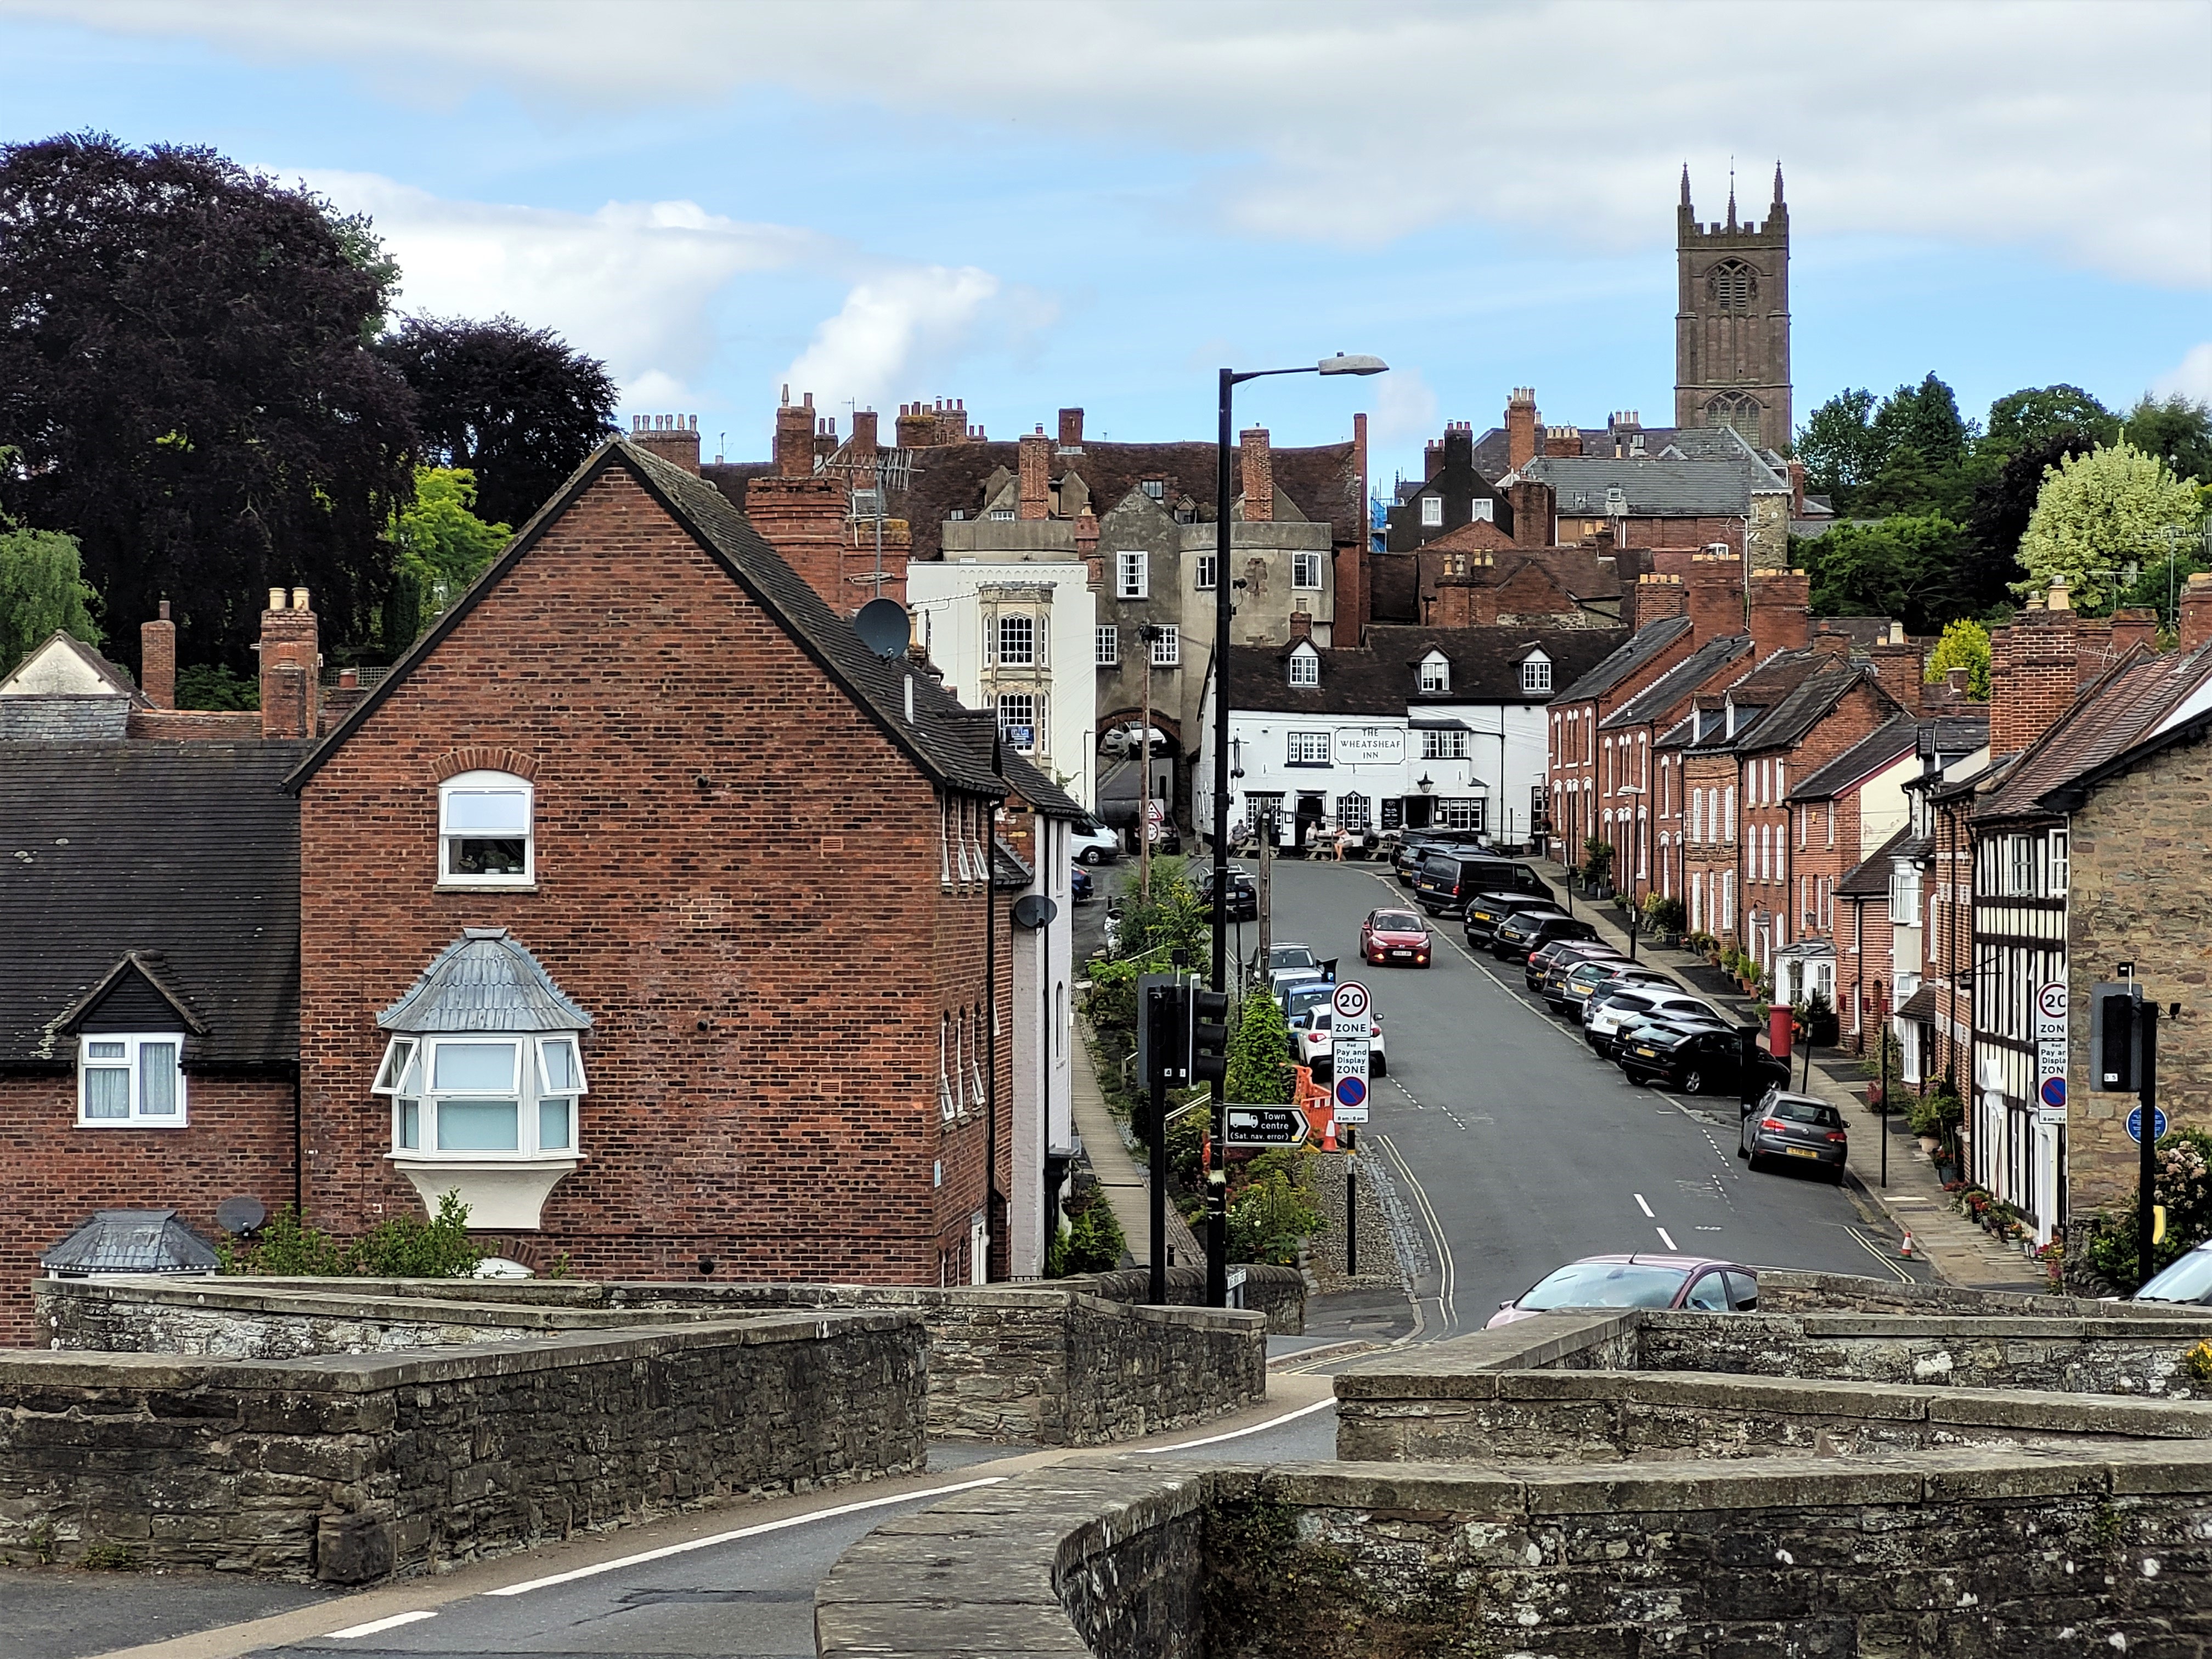
| The beautiful historic town of Ludlow and its magnificent castle sits on the banks of the River Teme and I first visited the town back in 2021 with Carolyn. JJ's Wargames -Historic Ludlow 2021 |
However despite the arrival of Salisbury and Warwick, York was to discover that he was badly outnumbered with just six peers and their attached retinues to the eighteen accompanying the king.
 |
| We arrived in Ludlow at around lunch time and immediately sought out a suitable watering hole that would have perhaps served a similar role for York, Warwick and Salisbury, during their brief stay in 1459. |
 |
| I first saw the glorious Rose & Crown pub during mine and Carolyn's visit to Ludlow and its castle in June last year, so it was great to take the time and revisit this historic pub on this visit a year later. |

 |
| Carolyn and I enjoyed a very pleasant lunch in the Wheatsheaf when we visited in June 2021. |
Rather strangely, given the circumstances, and the fact that they could expect little mercy from the heirs of those who fought and died at St Albans in 1455, if they now pressed on and fought the king's army, the Yorkists embarked on a circuitous march along the River Teme from Ludlow to Worcester and then back to Ludlow via Tewkesbury retreating in the advance of the king's army as the latter pursued them via Leominster.
 |
| The old city gate into Ludlow on the hill down to Ludford Bridge |

Henry was now looking for battle and his march from Malvern to Leominster left York in no doubt that that was the case as the Yorkists retreated via the Roman road from Cirencester to arrive before Ludford bridge, and with the River Teme in full flood, just in time to construct a defensive ditch before it and artillery posted around the perimeter just before Henry and his army arrived on the 12th October.


(During the night of 12th October) 'Almighty God smote the hearts of the Duke and Earls from the most presumptuous pride to the most shameful fall of cowardice that could be thought, so that about midnight they stole away out of the field under colour that they would have refreshed them a while in the town of Ludlow (and) leaving their Standards and Banners in their battle directly opposite (the king's) field, fled out of town unarmed with few persons into Wales.'
York abandoned his wife the Duchess Cecily and his children, George, Richard and Margaret, found standing forlornly in the market square when the king entered Ludlow.

Discipline in the Royal Army broke down and the soldiers sacked the town as later reported;
'The misrule of the king's gallants at Ludlow, when they had drunken enough wine that was in taverns and other places, they full ungodly smote out the heads of the pipes and hogsheads of wine, that men went wetshod in wine, and they robbed the town and bare away bedding cloth and other stuff, and defouled many women.'
Next Up: Jack's French Squadron takes shape to add to the British one I built a month ago, together with his storage box and trays he asked me to put together, so I will post some pictures on that.
I am also intending to look at some new rules for Medieval warfare that I am hoping to get play tested in the next month and perhaps another post included from Mr Steve's and my trip to Shrewsbury in July.
Following which I will be making a little announcement on the plans for the blog running between November to February next year.
More Anon
JJ
A War of the Roses bonanza and a great read. I wonder why the Richard Neville illustration has the colours of the Neville saltire reversed - it should be white on red?
ReplyDeleteHi Rob,
DeleteThank you, glad you enjoyed it.
As for the Salisbury illustration, it might be incorrect. The source is The Salisbury Roll of Arms, C. 146, Ann Payne / Duke of Buccleuch, dated circa 1463.
https://commons.wikimedia.org/wiki/File:Richard_Neville,_5th_Earl_of_Salisbury_seule.jpg
JJ
Didn't Lord Wilmot launch a cavalry charge uphill at Roundway Down?
ReplyDeleteHi Ian, when I took that direct quote from Bicheno about the Heavy Brigade at Balaclava, I almost stopped in mid sentence as I realised the possible challenge to every wargamer reading it to look up every other uphill charge, and yes you are correct.
DeleteThe point I think Bicheno was attempting to stress with his bold statement was the unlikely scenario of it being attempted in this situation, given the experience of the Hundred Years War and the impact of English archery on French heavily armoured knights at the charge and after seeing the terrain which, for example, considering Roundway Down where the ground is open cavalry country, Blore Heath is not and the intervening brook only added to the difficulties of making a mounted charge uphill.
I think I agree with his analysis, that a rapid advance to the brook, followed by a dismounted advance, a much more common tactic in the Wars of the Roses, up the opposite slope seems more likely, than the regularly quoted account of an all out mounted attack.
Once my WOTR collection is done I hope to test the theory out.
Cheers
JJ