

With restrictions on movement eased somewhat in the majority of the UK, Mr Steve and I decided to meet up and head towards Bath for a day out walking the battle sites of the English Civil War Campaign of Lansdown.
This would see the first clash between old friends and comrades from the war in Bohemia of 1618, now on opposite sides of a 'war without an enemy', namely Sir Ralph Hopton, commanding the Royalist Army of the South West, fresh from its victory at Stratton Hill in May 1643 and Sir William Waller, with several small victories to his credit in the south of England and on the Welsh border, not to mention the capture of Portsmouth in 1642, but with his army on the wrong end of the result in a clash with Prince Maurice at the Battle of Ripple Field in April 1643.
The South West of England was very much one of the key battlegrounds in the First English Civil War and would host its last battle in 1646 at Stow on the Wold as covered in my post from 2018 (see below for my other posts on South West Civil War battle sites visited), and in 1643, with Hopton's arrival to the south-west of Bath skirmishing with Parliamentary troops in Chewton Mendip on the edge of the Mendip Hills, Royalist fortunes in the region were at their height, with the Cornish foot, a veteran-elite Royalist formation confident in its abilities to overcome.
The skirmish at Chewton Mendip cost Hopton some thirty to forty men whilst Waller lost rather more and both sides drew breath with Hopton based in Wells and Waller in Bath as both armies reorganised and attempted to build up their strength in preparation for the forthcoming trial of strength.
Waller was reasonably well off with horse, having some 2,500 troopers but his desperate need was for infantry which caused him to make an urgent request to the Governor of Bristol, Nathaniel Fiennes to supply men from his garrison, writing;
"Good Sir, Sure you think we have both a lame and patient enemy, that will ... stay till be ready to answer his return ... What good will this regiment do Bristol if we perish? Let not the west of England be lost for a little monies, neither send your supplies too late. There is time which wise men will not let slip."
Waller's pleas were seemingly to no avail and by early July he still only had about 1,500 foot.
It was during the lull in the action that Hopton wrote to his old friend suggesting a meeting, which caused Waller to respond with a moving letter of his own which included the famous quote 'war without an enemy' signing it;
'your most affectionate friend and faithful servant William Waller, Bath 16 June 1643.'
 |
| An overview of our walk plan with Lansdown Hill Battlefield to the north west, then driving over to Monkton Farleigh to see the area of the skirmishing on July 2nd 1643, before returning towards Lansdown to take a look at the Roman marching fort close to Bath race course. |
The die was cast and Hopton and his Royalist commanders were determined to defeat Waller's Parliamentary army as a matter of priority, seizing the bridge at Bradford on Avon on July 2nd despite the success of Major Francis Duett and his 250 strong cavalry force managing to overcome Sir James Hamilton's Regiment of Horse at Leigh on Mendip, reportedly taking fifteen officers, 97 men, 140 horses and sixty cases of pistols.
The River Avon separated the Royalist army from Bath which moving north sought better ground to press their offensive, only to be countered by Waller's army now reinforced by Alexander Popham's Regiment of Foot from Bristol, as Waller attempted to attack the Royalist force on their march by sending a force under Colonel Robert Burghill, across the river near Claverton by means of a temporary bridge, occupying Monkton Farleigh Hill and concealing their infantry in nearby woods ready to spring their ambush.
 |
| The Lansdown Campaign showing the two armies movements around the city of Bath prior to the battle of Lansdown - The Civil War in the South West, John Barratt (Pen & Sword) |
However it seems the Royalist advance guard may have been aware of the attempted ambuscade and the Cornish foot forced Burghill's men back down into the valley and their bridge, guarded with a redoubt on the west bank, taking two light Parliamentary guns in the pursuit which ended on the banks of the Avon as darkness fell and the Cornishmen thinking better of pressing their attack over the river and rejoining the main force to continue the march north in order to reach the Lansdown Hill position north of the city.
However Waller was wise to his enemy's march plan and speedily marched north himself taking up position on Lansdown Hill before the Royalists arrived on the 4th July on Freezing Hill directly opposite their line, with a steep valley separating the two forces and with the Royalist forces viewing the strong position selected by Waller for several hours before deciding to fall back to Marshfield at about 1pm, fending off Parliamentary probing attacks with their dragoons as they retired.
The next day found Waller had reinforced his position on Lansdown Hill with the construction of breastworks using the local stone and trees cut down in the woods that masked the front of the position and again after several hours of inconclusive skirmishing the Royalist sought to break contact and fall back to Marshfield, prompting Waller to unleash his own attack sending forward his cavalry to assault their Royalist opposite numbers on Freezing Hill roughly handling them and taking back two light guns, replacing those lost on the 2nd July, before the Royalist cavalry were supported by their infantry who drove the Parliamentary cavalry back to their own lines.
 |
| A Google Earth view of Lansdown Hill and the approximate positions of the two armies (Royalist in blue) with point markers in yellow indicating the route we walked and positions the various pictures were take from. The direction of the Royalist attack and later Parliamentary withdrawal are indicated by the coloured arrows |
It was by now late afternoon and with some Royalist accounts suggesting that Waller's army seemed ready to fall back from its position with horse and foot 'running around distractedly' and the 'blowing up of powder', it seems the the next series of events are unclear.
Whatever the cause and how orders were issued, Sir Bevil Grenville and the Cornish pikemen advanced up Freezinghill Lane with musketeers to their left in the fields and woods and cavalry to their right with supporting flanking attacks developing to turn both Parliamentary flanks as the attack developed.
The Cornish foot were subjected to artillery fire and musketry as they climbed the hill using the cover the lane provided and the support from their musketeers and cavalry to aid their progress.
In response Waller pulled his men back from the wooded slopes and crest line, purportedly to give room for his cavalry to counterattack the no doubt fatigued Royalist pikemen as they crested the ridge.
As the Cornishmen reached the crest they were met with a hail of cannon and musketry that brought their advance to a halt, soon followed up by three counter-charges by Haselrigg's 'Lobsters', armoured cuirassiers, who in the third attack managed to administer the mortal blow to the head of Bevil Grenville, caught up in the thick of the fighting.
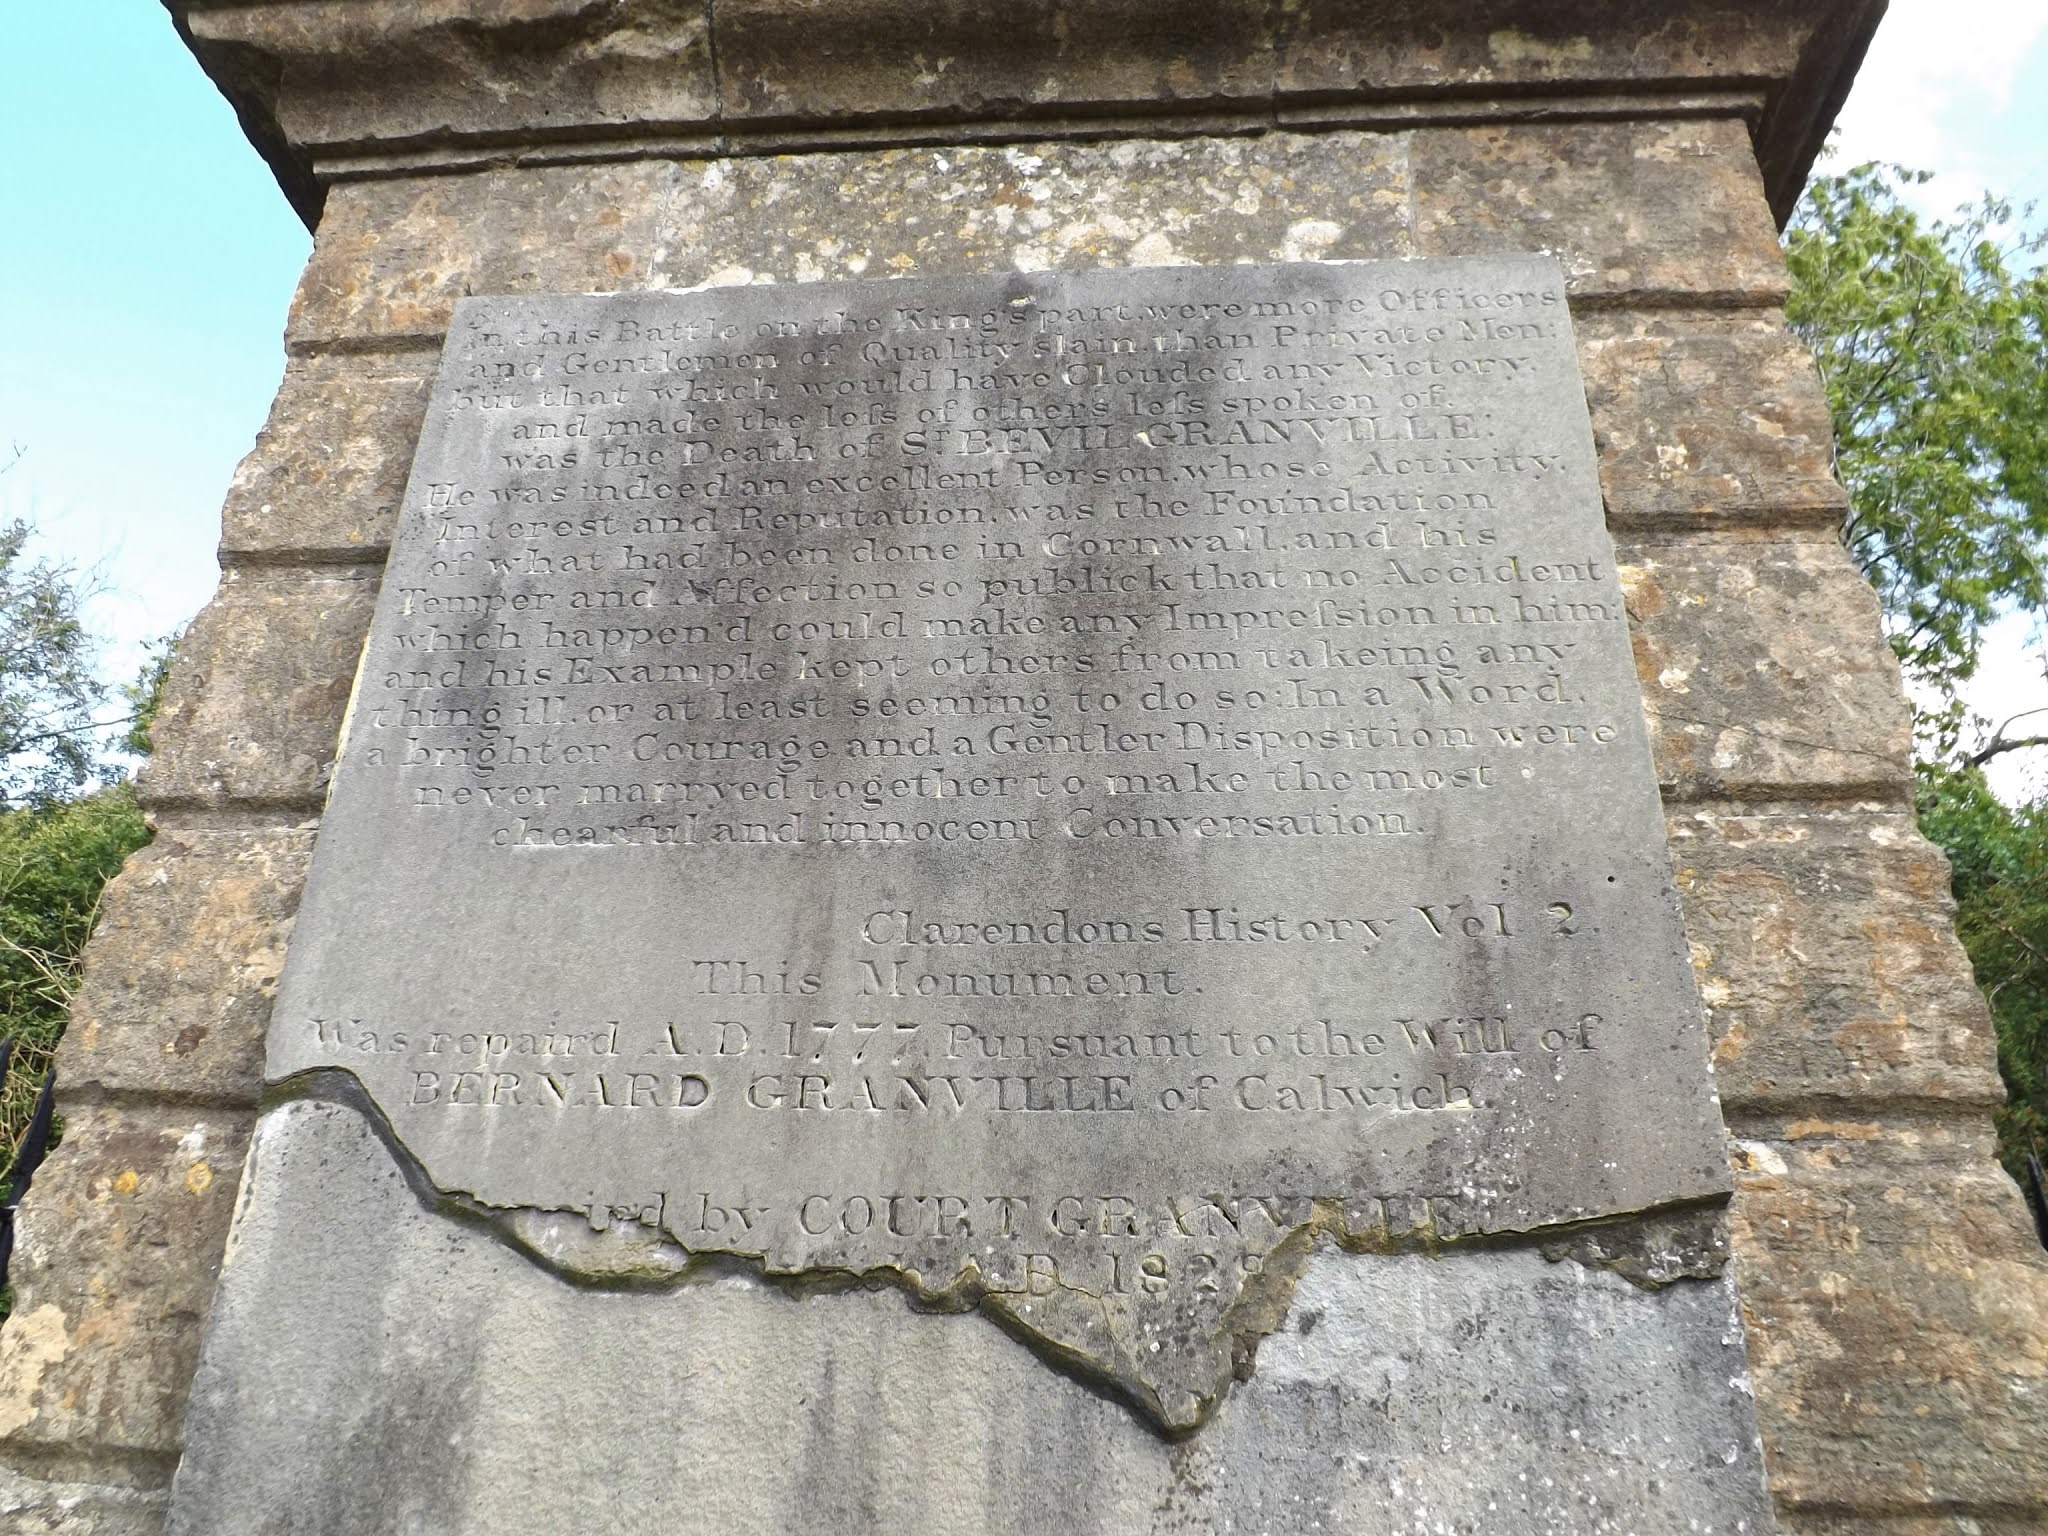
Point 1 Freezinghill Lane, The Grenville Monument and the Parliamentary Front Line
 |
| The lay-by alongside on Freezinghill Lane that bisects the battlefield and where we began our day's adventure. It was up this road the Grenville's pikemen advanced onto the ridge you can see in the picture. |
 |
| Close by, there is the first of the battlefield markers alongside an information board that announces the significance of the site to English and British history |
As the Cornish pike fought to hold their ground, the Cornish musketeers joined their comrades on the ridge together with supporting Royalist cavalry, among them Richard Atkyns esquire who left the following account of the action that followed;
'As I went up the hill, which was very steep and hollow, I met several dead and wounded officers brought off; besides several running away, that I had much ado to get up by them. When I came to the top of the hill, I saw Sir Bevill Grinvil's stand of pikes, which certainly preserv'd our army from a total rout, with the loss of his most precious life:


They stood as upon the eaves of an house for steepness, but as unmovable as a rock; on which side of this stand of pikes our horse were, I could not discover; for the air was so darkened by the smoke of the powder, that for a quarter of an hour together (I dare say) there was no light seen, but what the fire of the volleys of shot gave; and 'twas the greatest storm that ever I saw, in which though I knew not whether to go, nor what to do, my horse had two or three musket bullets in him presently, which made him tremble under me at that rate, that I could hardly with spurs keep him from lying down; but he did me the service to carry me off to a lead horse, and then died:
 |
| The treeline beyond the stone indicates the top of the crest over which the Royalist troops advanced to be met by a hail of shot and successive cavalry assaults by Waller's troops. |
 |
| The monument to the Sir Bevill Grenville, killed whilst leading the Cornish pikemen in column as they assaulted the Parliamentary position via Freezinghill Lane assaulted by Haselrigg's Lobsters during which Grenville was struck a mortal blow to the head during the third attack |

By that time I came up to the hill again, the heat of the battle was over, and the sun set, but still pelting at one another half musket shot off: The enemy had a huge advantage of ground upon our men, for their foot were in a large sheep-cot, which had a stone wall about it as good a defence against anything but cannon as could be, and ours upon the edge of the hill, so steep that they could hardly draw up; 'tis true there were shelves near the place like Romish (Roman) works, where we quartered that night, but to shallow that my horse had a bullet in his neck:
 |
| An interpretation of Haselrigg's 'Lobsters' by Richard Scollins, who made three counter-charges against Grenville's Cornish pike as they crested the ridge into the open ground |

We pelted at one another till half an hour before day, and then we heard not any noise, but saw light matches upon the wall, which our commanders observing sent one to discover whether they had quit the field or not, who brought news that they were gone.'


They were not put to the test, and with the Cornish foot scornfully referring to their mounted comrades as 'runaway horse', having suffered the loss not only of their commander but 200 dead and perhaps 300 wounded, compared to reportedly just twenty men lost in Parliamentary ranks, the Royalist had to cope with one final drama to end a somewhat Pyrrhic victory, if you could even call it that.
As the Royalists comforted themselves with having captured 400 arms and ten barrels of powder after the Parliamentary retreat, despite being no nearer to capturing Bath, they had the final drama of the next morning and the injuring of their commanding general, caught in the explosion of an ammunition cart as he was close by.
Richard Atkyns described the affair;
'Lord Hopton, who was then viewing the prisoners taken, some of which, were carried upon a cart wherein was our ammunition; and (as I heard) had match to light their tobacco; ... I had no sooner turn'd my horse, and was gone 3 horse lengths from him, but the ammunition was blown up, and the prisoners in the cart with it; together with the Lord Hopton, Major Sheldon, and Cornet Washnage, who were near the cart on horse back, and several others: It made a very great noise, and darkened the air for a time, and the hurt men made lamentable screeches. As soon as the air was clear , I went to see what the matter was: there I found his Lordship miserably burnt, his horse sing'd like parch'd leather, and Thomas Sheldon (that was 2 horse lengths further from the blast) complaining that the fire was got within his breeches, which I tore off as soon as I could, and from as long flaxen head of hair as ever I saw, in the twinkling of an eye, his head was like a blackamoor; his horse was hurt, and runaway like mad, so that I put him upon my horse, and got two troopers to hold him up on both sides, and bring him to the head quarters, whilst I march'd after with the Regiment.'
Sir Ralph Hopton was described as 'a miserable spectacle, his head swollen as big as two heads and his eyes near burnt out.'
 |
| With Lansdown so close to the popular Spa town of Regency Bath it is not surprising that the area was probably a popular place to promenade and picnic, certainly if the gracious graffiti of the early nineteenth century is any indication |
 |
| Not only well carved initials placed high up on the monument, but a most notable date, 1809, a very turbulent year in British and European history, with Napoleon waging war against Austria and Wellington making his mark in the Spanish peninsula |
 |
| Just forward of the monument and a short walk through the trees, the Freezinghill Lane up which Grenville's Cornish pikemen advanced with Freezinghill and the former Royalist position across the valley |
 |
| The route up from the road on the forward edge of the hill is heavily wooded before the ground opens up by the monument beyond the trees in the background of this picture |
 |
| A view from Waller's line at the opposite hill held by the Royalists before their counterattack |
Point 2 - The Extreme Parliamentary Right Flank and the Open Ground Behind
 |
| After a short walk following the path through the trees, we came out on the extreme right of the Parliamentary line with the tree line held by them before they pulled back across the open field. The parked cars can be seen on Freezinghill Lane, left background, and the Grenville monument is centre-left background, in among the trees |
 |
| Looking to the right flank of Waller's line with the valley beyond the wooden fence over which the Royalist flanking force advanced |


Point 3 - The Rearward Wall and Waller's Fall-back Line
 |
| Following the path along the field behind the tree line we arrive at the wall position along which Waller's army fell back to firing into the Royalists that attempted to follow across the open ground. |
 |
| It was in this field that the Royalist advance halted with the Parliamentary army leaving lit matches on pike staffs against the wall over night to delay any potential advance as they retired to Bath |

 |
| The view down the valley to Batheaston and Bath beyond the River Avon, this route being a possible avenue of retreat for Waller's army with his wagons and guns, likely staying on the road to Bath, that follows the ridge line to the right of picture. |
Point 4 - The Parliamentary Centre
 |
| Steve and I follow the path of the Cotswold Way that makes its way along the back of the tree line and Waller's centre and left flank |
 |
| It's been a great summer for blackberries this year |
 |
| And a good one for crickets! |
 |
| Amid the thick woods on this part of the line, the ground is disturbed with undulations and banks, perhaps indicating the works built by Waller's troops. |
 |
| The path is well marked, directing the walker to the left flank of Waller's position and Hanging Hill that overlooks the Severn Valley and the City of Bristol beyond. |
 |
| One of the maps we used during our walk to interpret the ground as we saw it |

Point 5 - The Extreme Left Flank of the Parliamentary Line
 |
| The tree line gives way on the left flank of Waller's line offering stunning views of the country beyond and a great place to stop for a bite of lunch. |
 |
| The city of Bristol with the River Severn and South Wales beyond. |
 |
| This part of the hill with its open vistas really gives a good impression of how steep an incline Hopton's army had to deal with when they assaulted up it and the exhaustion they felt at the end of a hard fought day. |
 |
| Maps suggest that the undulations in the open ground here near Hanging Hill are the remains of quarry pits |


With a very pleasant break for lunch gazing out from Hanging Hill towards Bristol and the River Severn we decided to work our way around Bath to see if we could discover the place on the River Avon close to Claverton where Waller's men crossed to intercept and ambush the Royalist army as it marched north around the city from Bradford on Avon on the 2nd July 1643.
The Reverend T W Jex Blake, Dean of Wells account (link included in the sources below) made interesting reading in describing the events that led to the skirmishing between Monkton Farleigh and Claverton.
Point 6 - Monkton Farleigh and Claverton, The Skirmish on the Avon, 2nd July 1643
Lord Hopton's Account of the Movements of the Royalist army 1643.
'Upon Sunday, the 2nd July, the army advanced to Bradford, where they had a passe over the River Avon at their command, and were on either side within 4 miles of the enemy's quarters. The same night Sr Wm. Waller advanced a great part of his army, both horse, foot and dragoons over the River under Claverton-house, where besides the ford, he had made a bridge, and a redoubt on his side to defend both, reserving the other part of his army with his ordnance in Battalio on Claverton-Down.
With this part of the army so drawn over the river, he advanced in the night and possessed himself of the high-ground at Munckton-Farly and laid an ambuscade in a woodland-walled ground in the foot of the hill, and so in the morning he advanced strong parties of horse; upon their out guards of horse, which being then strong and well commanded by Major Lower, he held them up till the whole army drew forth, which then in good order both horse and foot advanced towards the enemy.
 |
| The overview of the possible crossing point over the Avon between Claverton Down and Monkton Farleigh as described in Hopton's account. The circled area is a potential crossing point where Waller built his bridge and redoubt, with the rest of his army drawn up close by on the open ground of Claverton Down above the position. |
The Cornish foot in an hour or two beat the enemy out of their ambuscade, and then both foot and horse advanced upon their main-body on the top of Munckton-Farley hill, where they durst not to stand them and so they had the chase of them as far as Bathe-Easton. In which chase and not before they discovered Sr Wm. Waller with his main body on the other side of the water on the top of Claverton Down with his bridge and his work before mentioned.
Hereupon Prince Maurice turn'd the main of the force of foot to gain that pass which he did just as it was night, and so Sr Wm. Waller in the dark retreated into Bath.
 |
| The view of the crossing point close to the weir, a likely shallow her on the Avon, picture taken from Point 6 on the map above with a close up below. |
Driving to the hamlet of Monkton Farleigh where the Parliamentary force laid in wait among the woodland for the Royalist army we followed the road aptly named 'Sally in the Wood' down into the valley of the River Avon towards Claverton.
Over this ground the Cornishmen chased the ambush party of Colonel Robert Burghill back to the bridge and redoubt, before Prince Maurice called a halt to matters and turned the Royalist army back to Monkton Farleigh and the race north to beat Waller's army to the dominating high ground of Lansdown Hill, a race they lost.

The Roman Marching Fort - Bath Race Course
With the afternoon drawing on and a two hour drive home we decided to make our way back to the motorway via Bath race course, close to which can be seen the remains of a Roman marching fort in the ploughed field beyond.
Bath is very much a Roman town who took great delight in their discovery of hot water springs in the Avon valley that provided naturally sourced hot spa water to their own purpose built bath house built around 60-70 AD in what was known to the Romans as Aquae Sulis in deference to the Celtic goddess of the spring, adopted by them as Sulis Minerva.

Thus with an early Roman presence in the area it should be no surprise to discover the remains of their military activity and the classic playing card shape of a typical Roman marching fort proved too good a distraction to our journey home to be missed.
After circuitously making our way around the edge of the race course we managed to find an access point to our target field with the view of the clearly defined earthwork boundary obvious set among the yellowing wheat.
 |
| Our first view of the embanked Roman marching fort as we entered the wheat field. |
 |
| The size of the interior is really impressive together with its well delineated lines |


So there we are, our first walk of a somewhat unusual 2020 and with plans to get another one in for next month.
Sources referred to in this post:
The Civil War in the South West - John Barratt, Pen & Sword Books
Roundhead General, Campaigns of Sir William Waller
I'm led to believe that current thinking is that the marching fort could be a cattle pen of some sort or other. Shame as I prefer the fort idea.
ReplyDeleteWell the good news is that we will probably never know for sure which means that folks like you and me can go on imagining a cohort of auxiliaries training in the area before heading off up to Wales to deal with the Silures.
DeleteI must have walked Lansdown two or three times but never fail to have my breath taken away by the view from Hanging Hill... and as for the sheer guts of the Cornish foot, words fail me... an excellent commentary - makes me want to jump in the car now!
ReplyDeleteHi Steve,
DeleteThank you, I saw your report on your own walk which was very helpful in the pre-walk planning and I loved your picture of the rearward wall with what looked like the replacement of stonework, likely where a light gun had been positioned - brilliant spot.
JJ
Another excellent and informative post JJ. I would love three months to walk a few of the ECW and other British battlefields all over the Sceptered Isle.
ReplyDeleteHi Carlo,
DeleteThank you. Well I hope you get the opportunity to spend a few summer months here, preferably in the West Country where it's a bit warmer and the Isle in more sceptered and with some great pubs to enjoy once all the current nonsense has resolved itself.
Cheers
JJ
I’m the best part of a year late to this! Good article. Great pictures. Very tempting to head over there this Summer.
ReplyDeleteBetter late than never, thank you and welcome to the blog. It’s a lovely part of the country, especially with the weather Steve and I had last summer, so definitely recommended.
DeleteJJ